Tutoriel | Dokploy : Le PaaS qui veut réconcilier l’Admin Linux avec le déploiement moderne
Article publié le 19 Janvier 2026
À l’heure où les notions de cloud souverain et d’écosystème « Auto-hébergé » reviennent en force, utiliser Dokploy sur votre infrastructure « on-premise » devient de plus en plus pertinent.
Dokploy est une solution open source qui permet de déployer en 10 minutes un PaaS sur des serveurs classiques, qu’ils soient sur votre cloud privé ou chez un cloud provider public (AWS, GCP ou Azure).
1) Installation
Pour ce tuto, j’ai utilisé une VM sous Debian 12 avec 4 vCPU et 16 Go de RAM afin d’être peinard.
L’installation est une formalité, même pour un admin débutant. Il suffit d’exécuter ce script avec l’utilisateur root :
sudo curl -sSL https://dokploy.com/install.sh | sh
Que fait ce script?
-
Vérification des dépendances : Il installe
curl,sudoetgit. -
Setup Docker : S’il n’est pas présent, il installe Docker Engine.
-
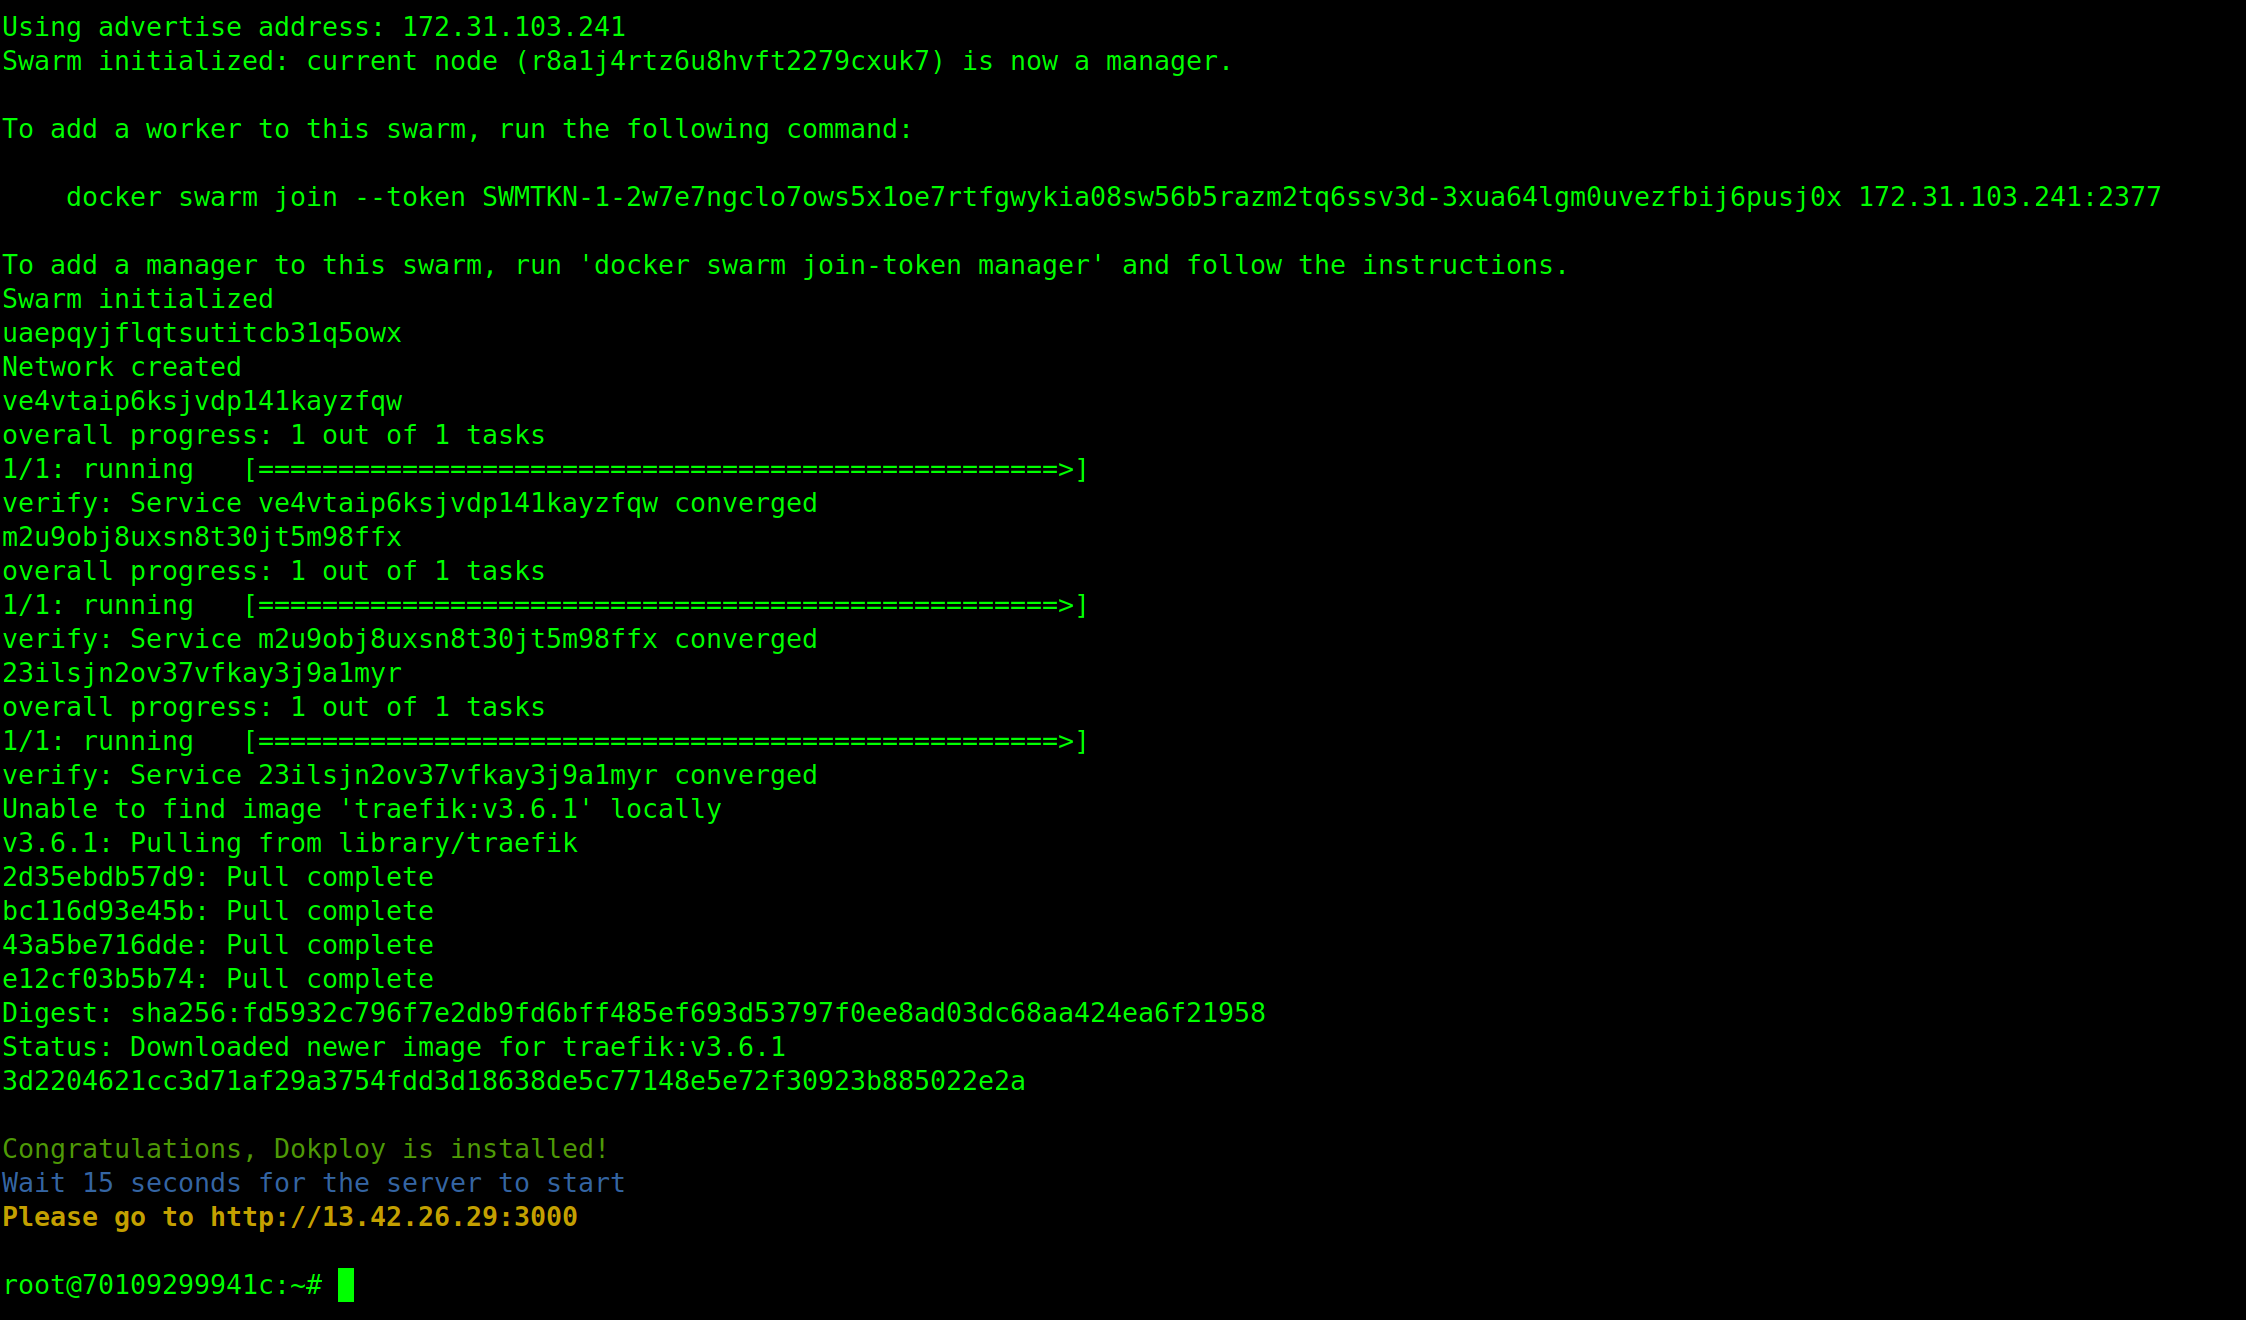
Swarm Mode : Il exécute
docker swarm init(si ce n’est pas déjà fait). C’est crucial car Dokploy utilise les services Swarm pour la gestion du réseau. (Même si je ne suis pas fan de Docker Swam il faut admettre que c’est bien pratique) -
Pull & Run : Il télécharge l’image Docker de Dokploy et lance le service.
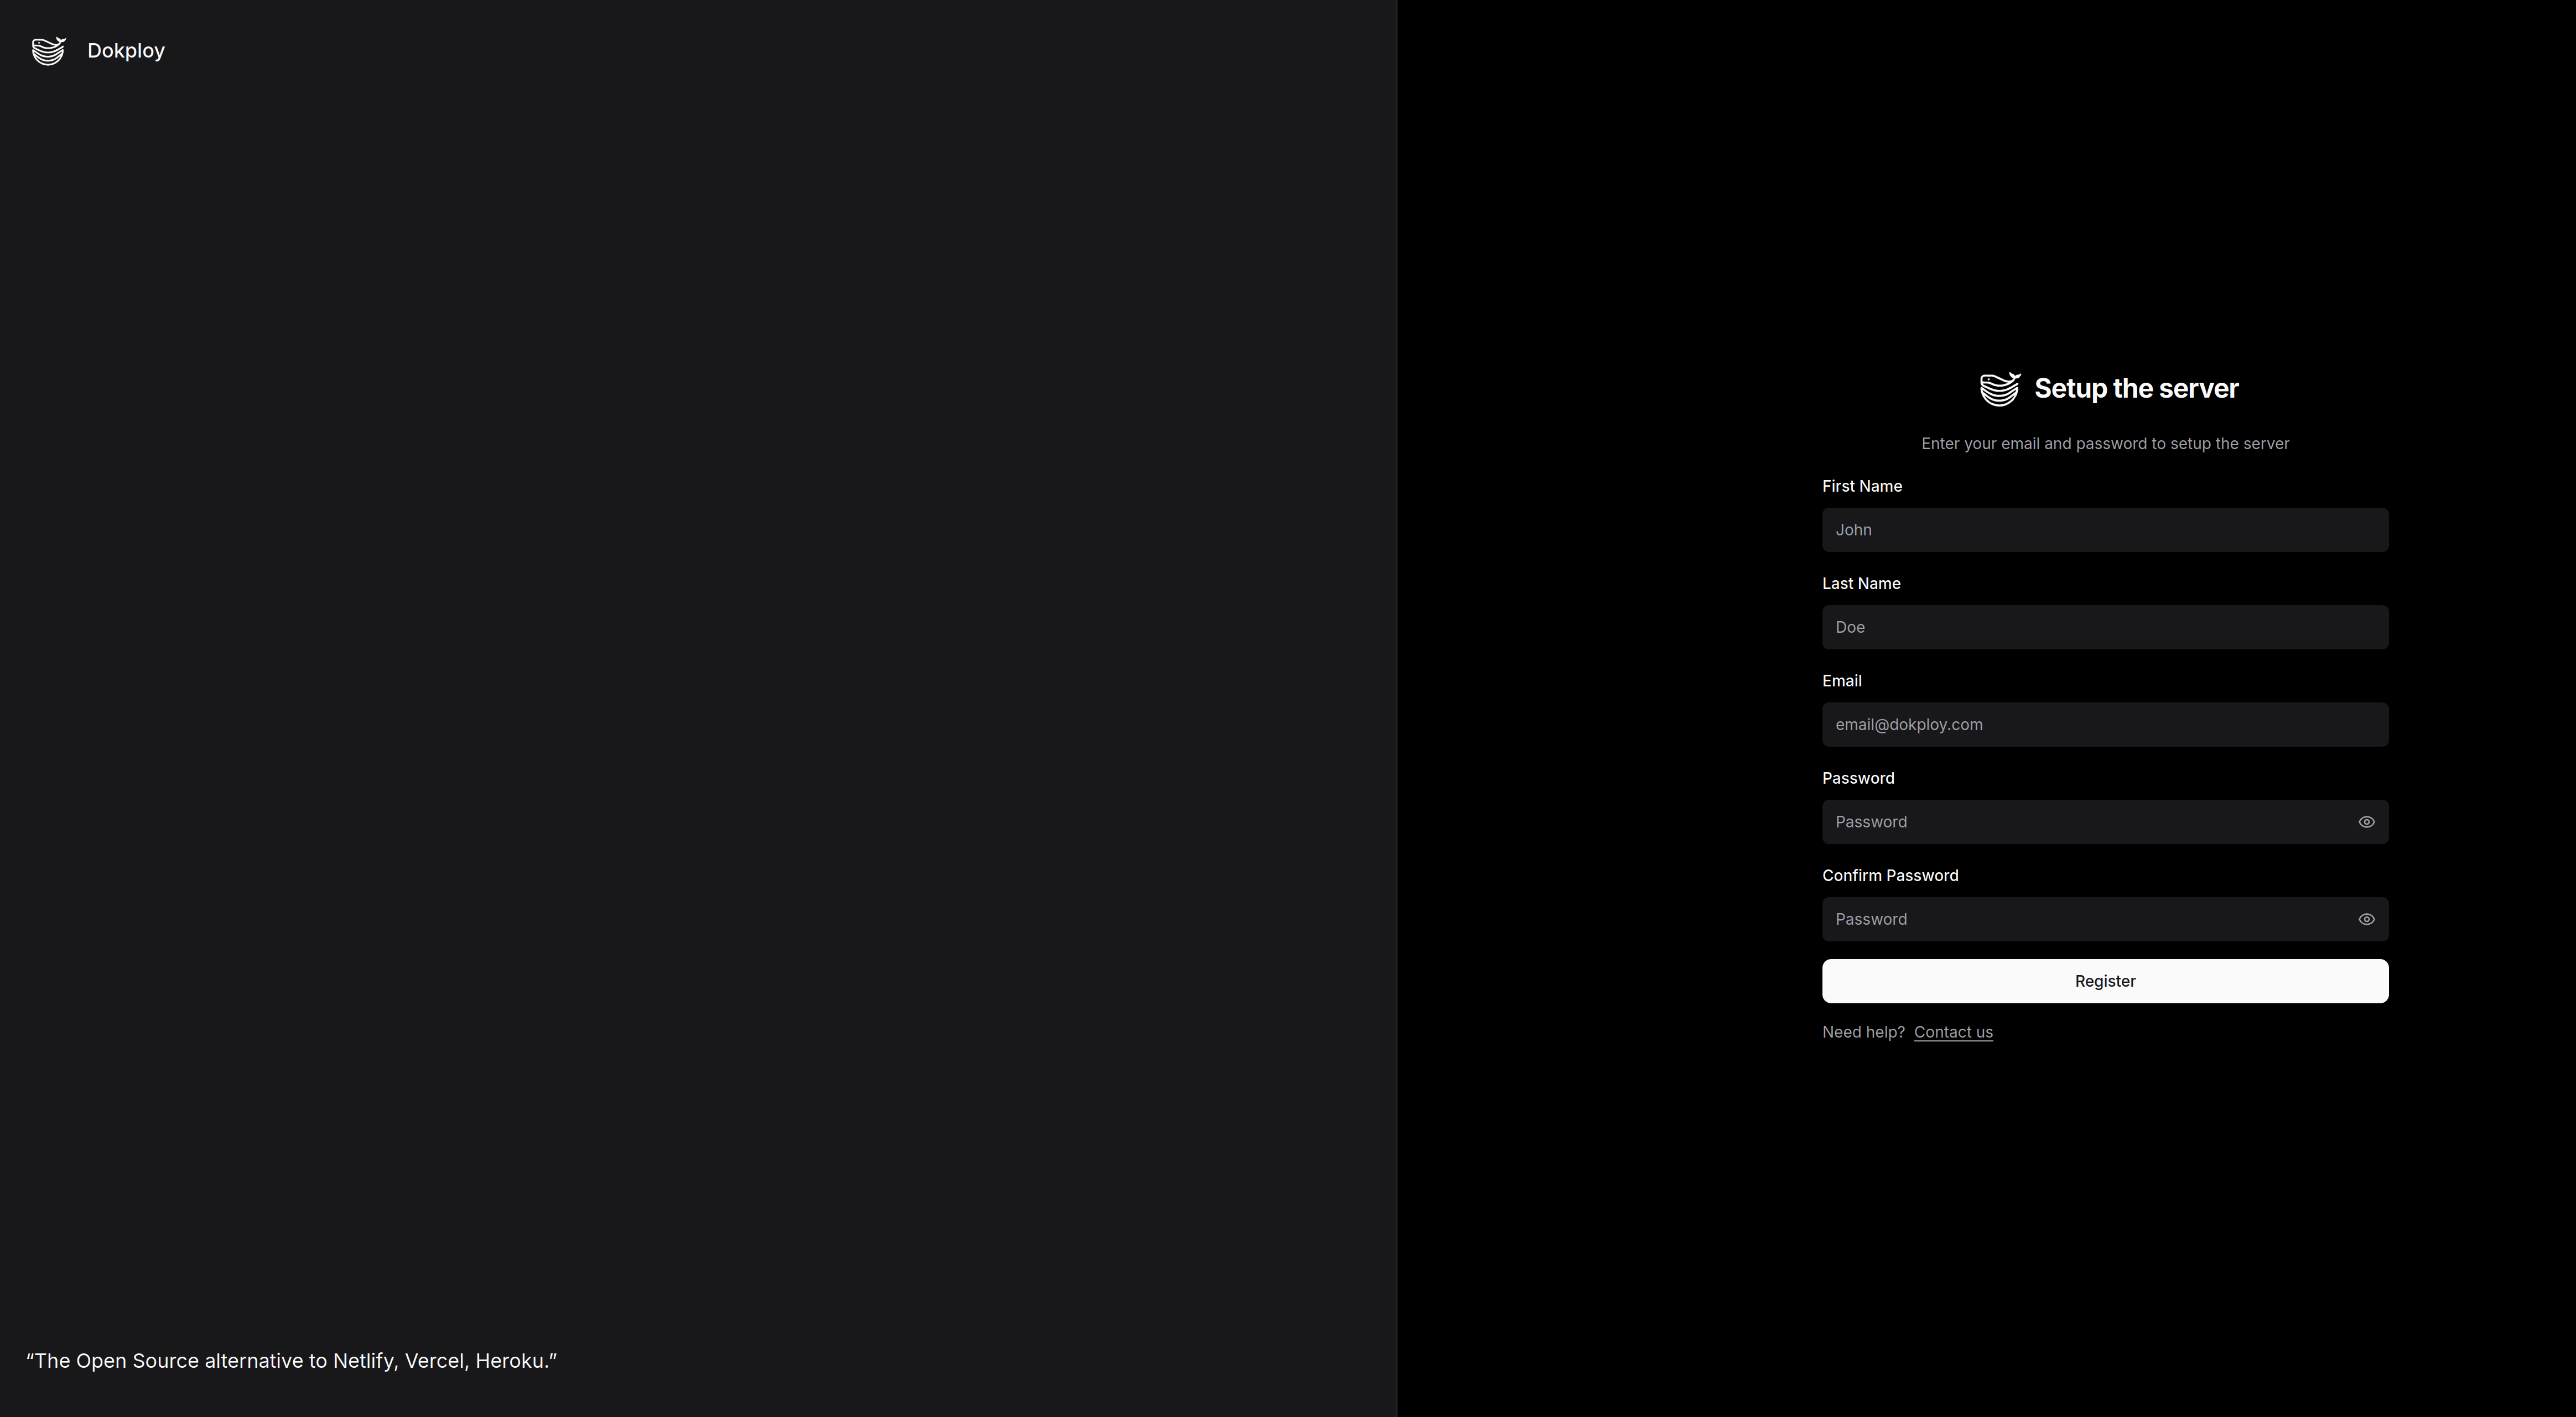
Une fois terminé, vérifiez que l’interface web est dispo sur le port 3000 et enregistrez votre premier utilisateur.
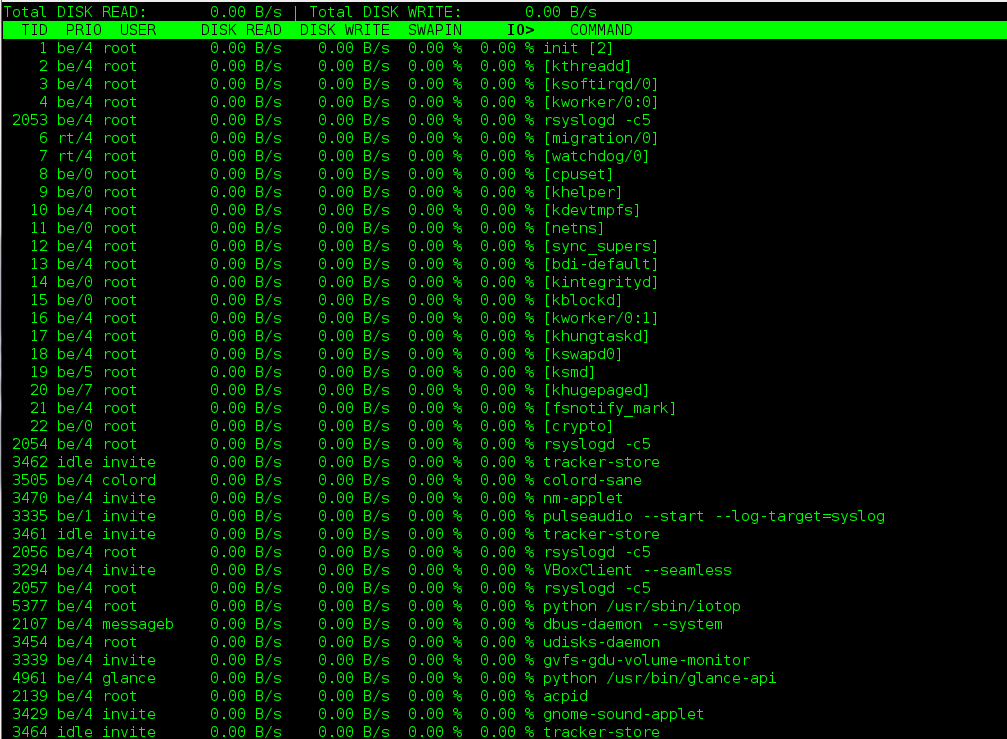
Sous le capot, un petit docker ps -a vous confirmera que tout tourne proprement.

2) Prise en main
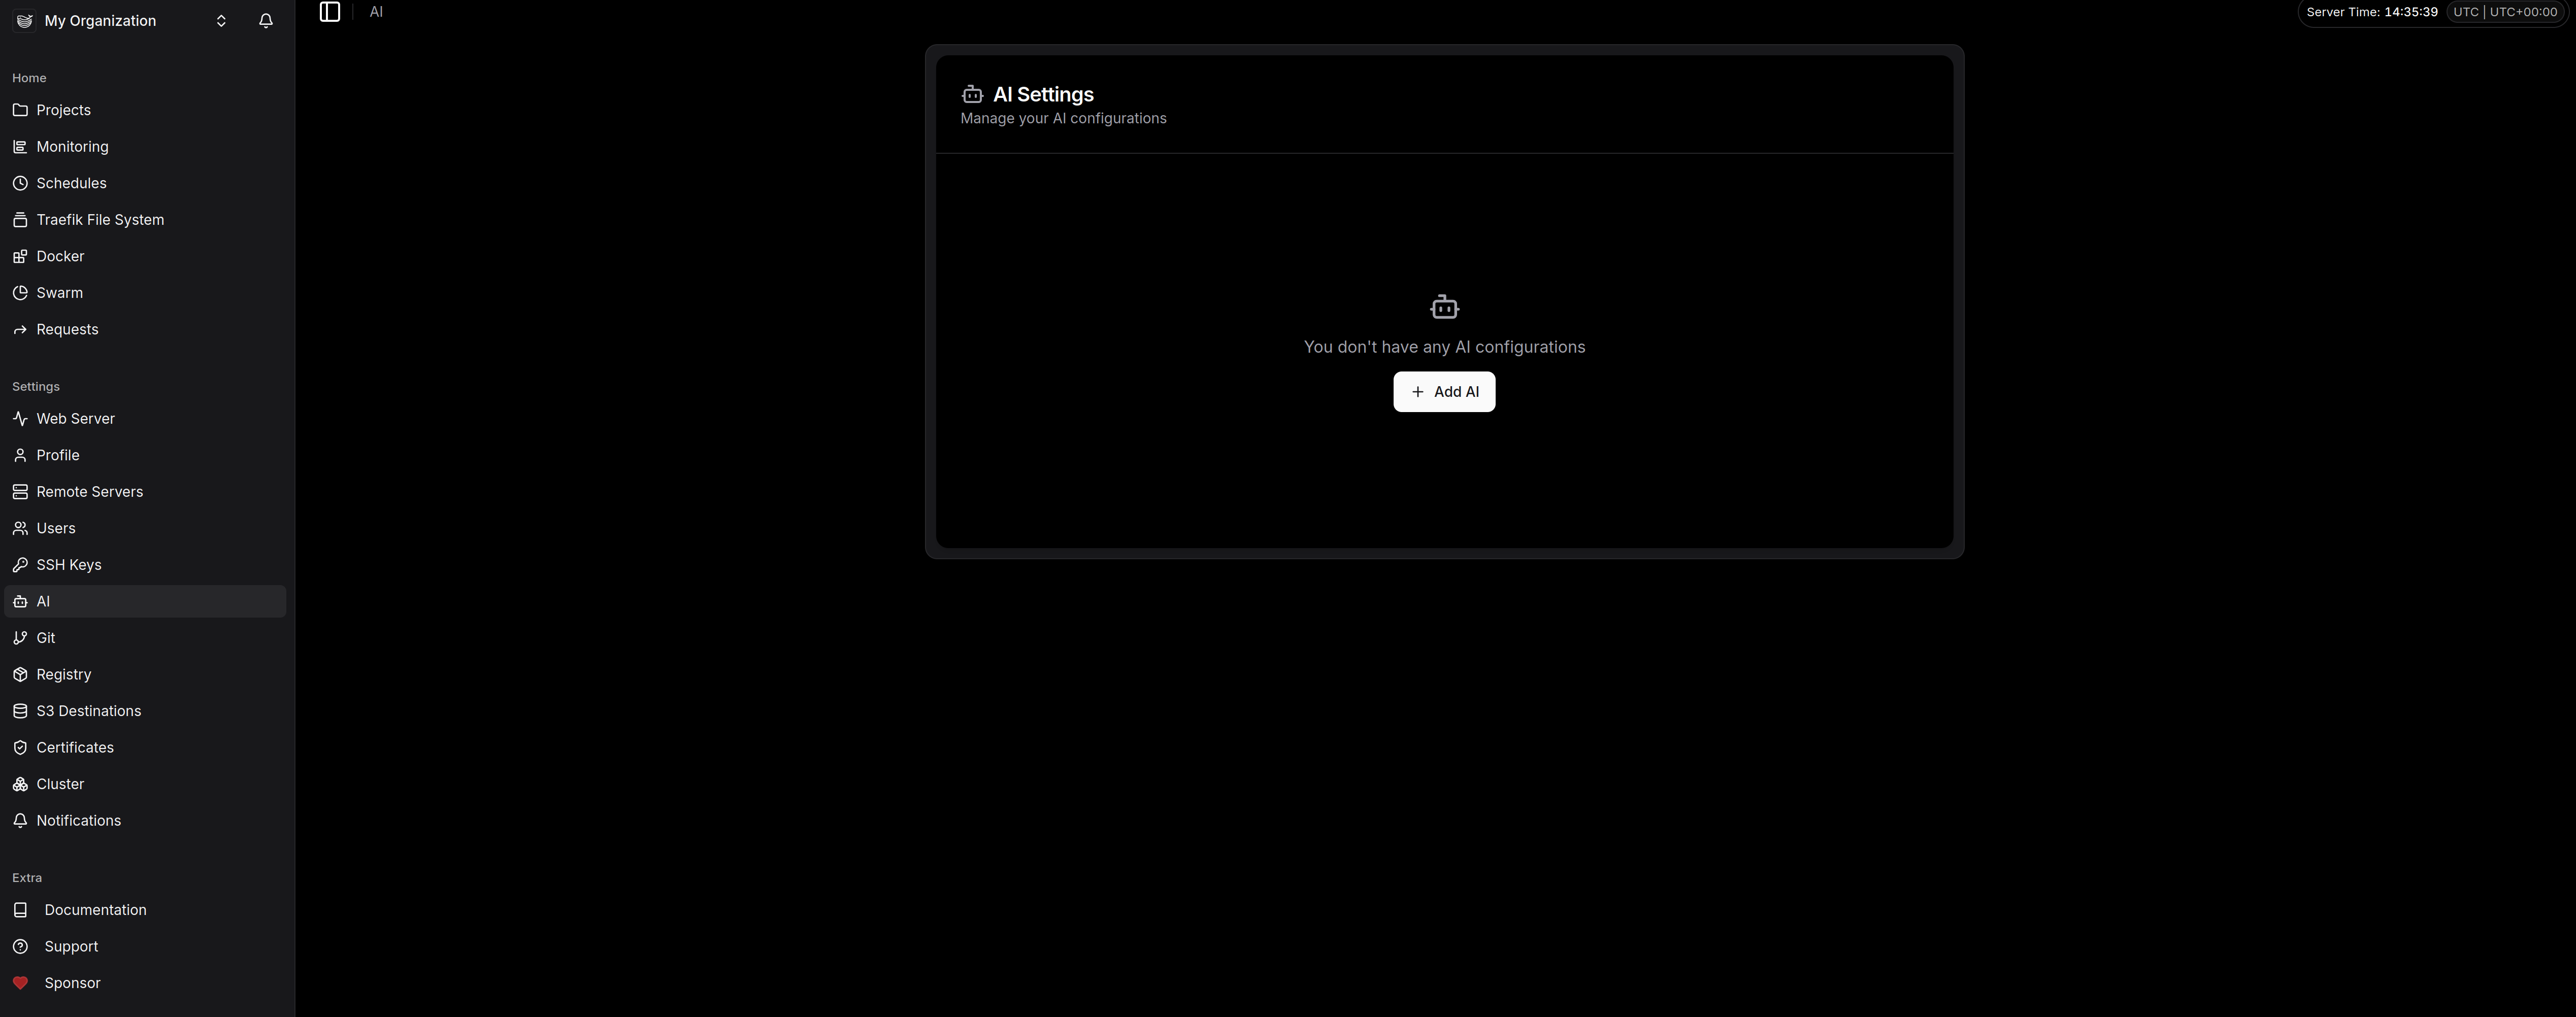
Nous voici sur l’interface d’admin qui me parait fort sympathique. On est loin des usines à gaz surchargées : ici, c’est propre, sombre (le mode Dark par défaut, merci pour nos yeux d’admin) et surtout très structuré.
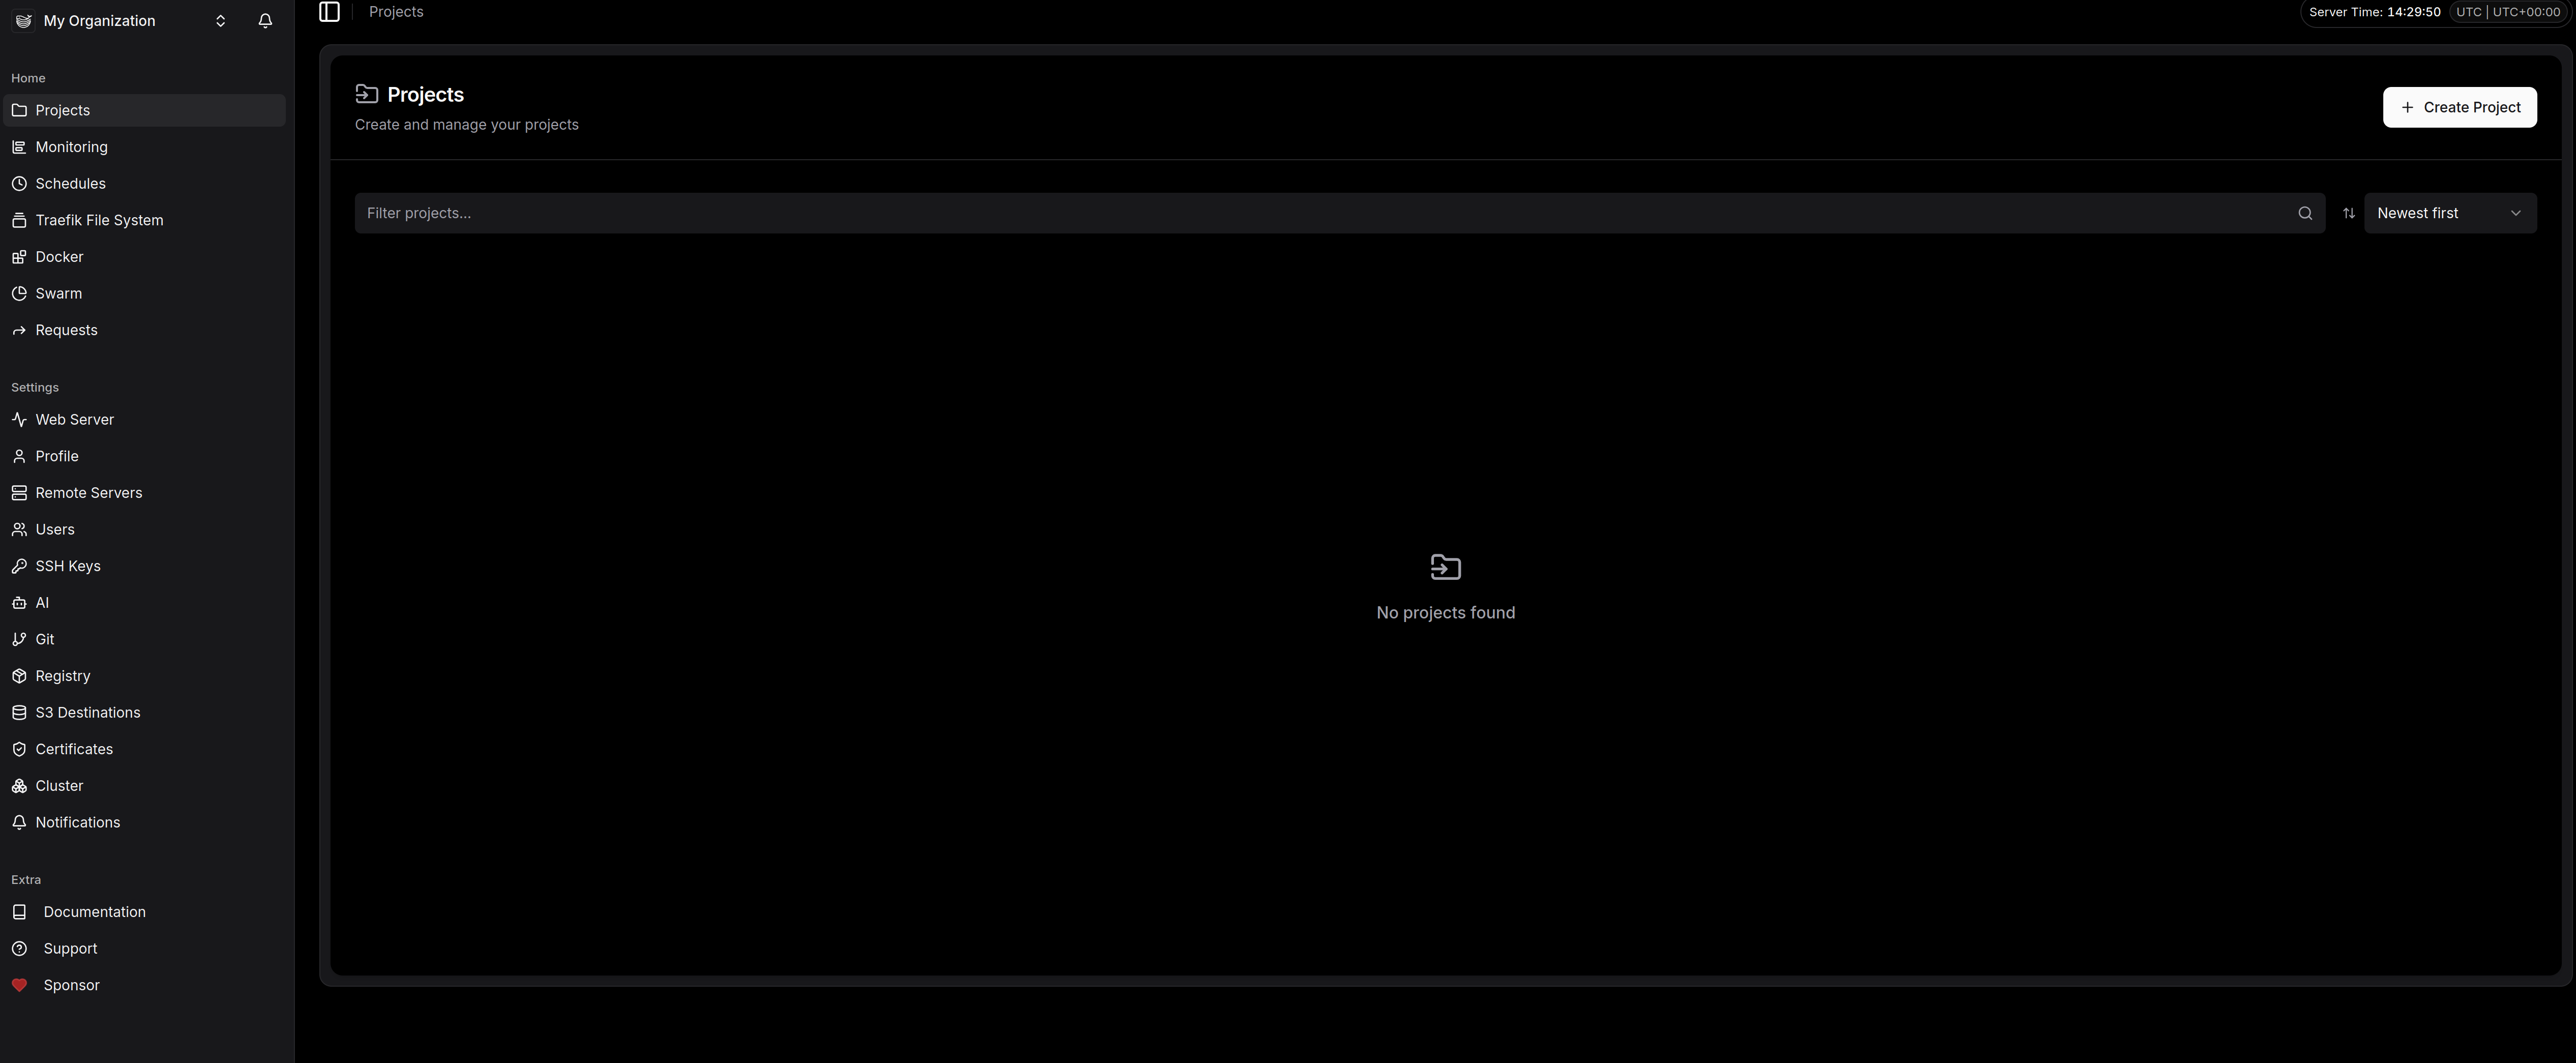
Voici ce qu’on retrouve dans la barre latérale et qui va devenir notre quotidien :
Le pilotage opérationnel (Home)
C’est ici que l’on gère le « Run ».
-
Projects : C’est le cœur du réacteur. On y crée des groupes pour nos apps (par exemple « Prod », « Staging » ou « Blog »).
-
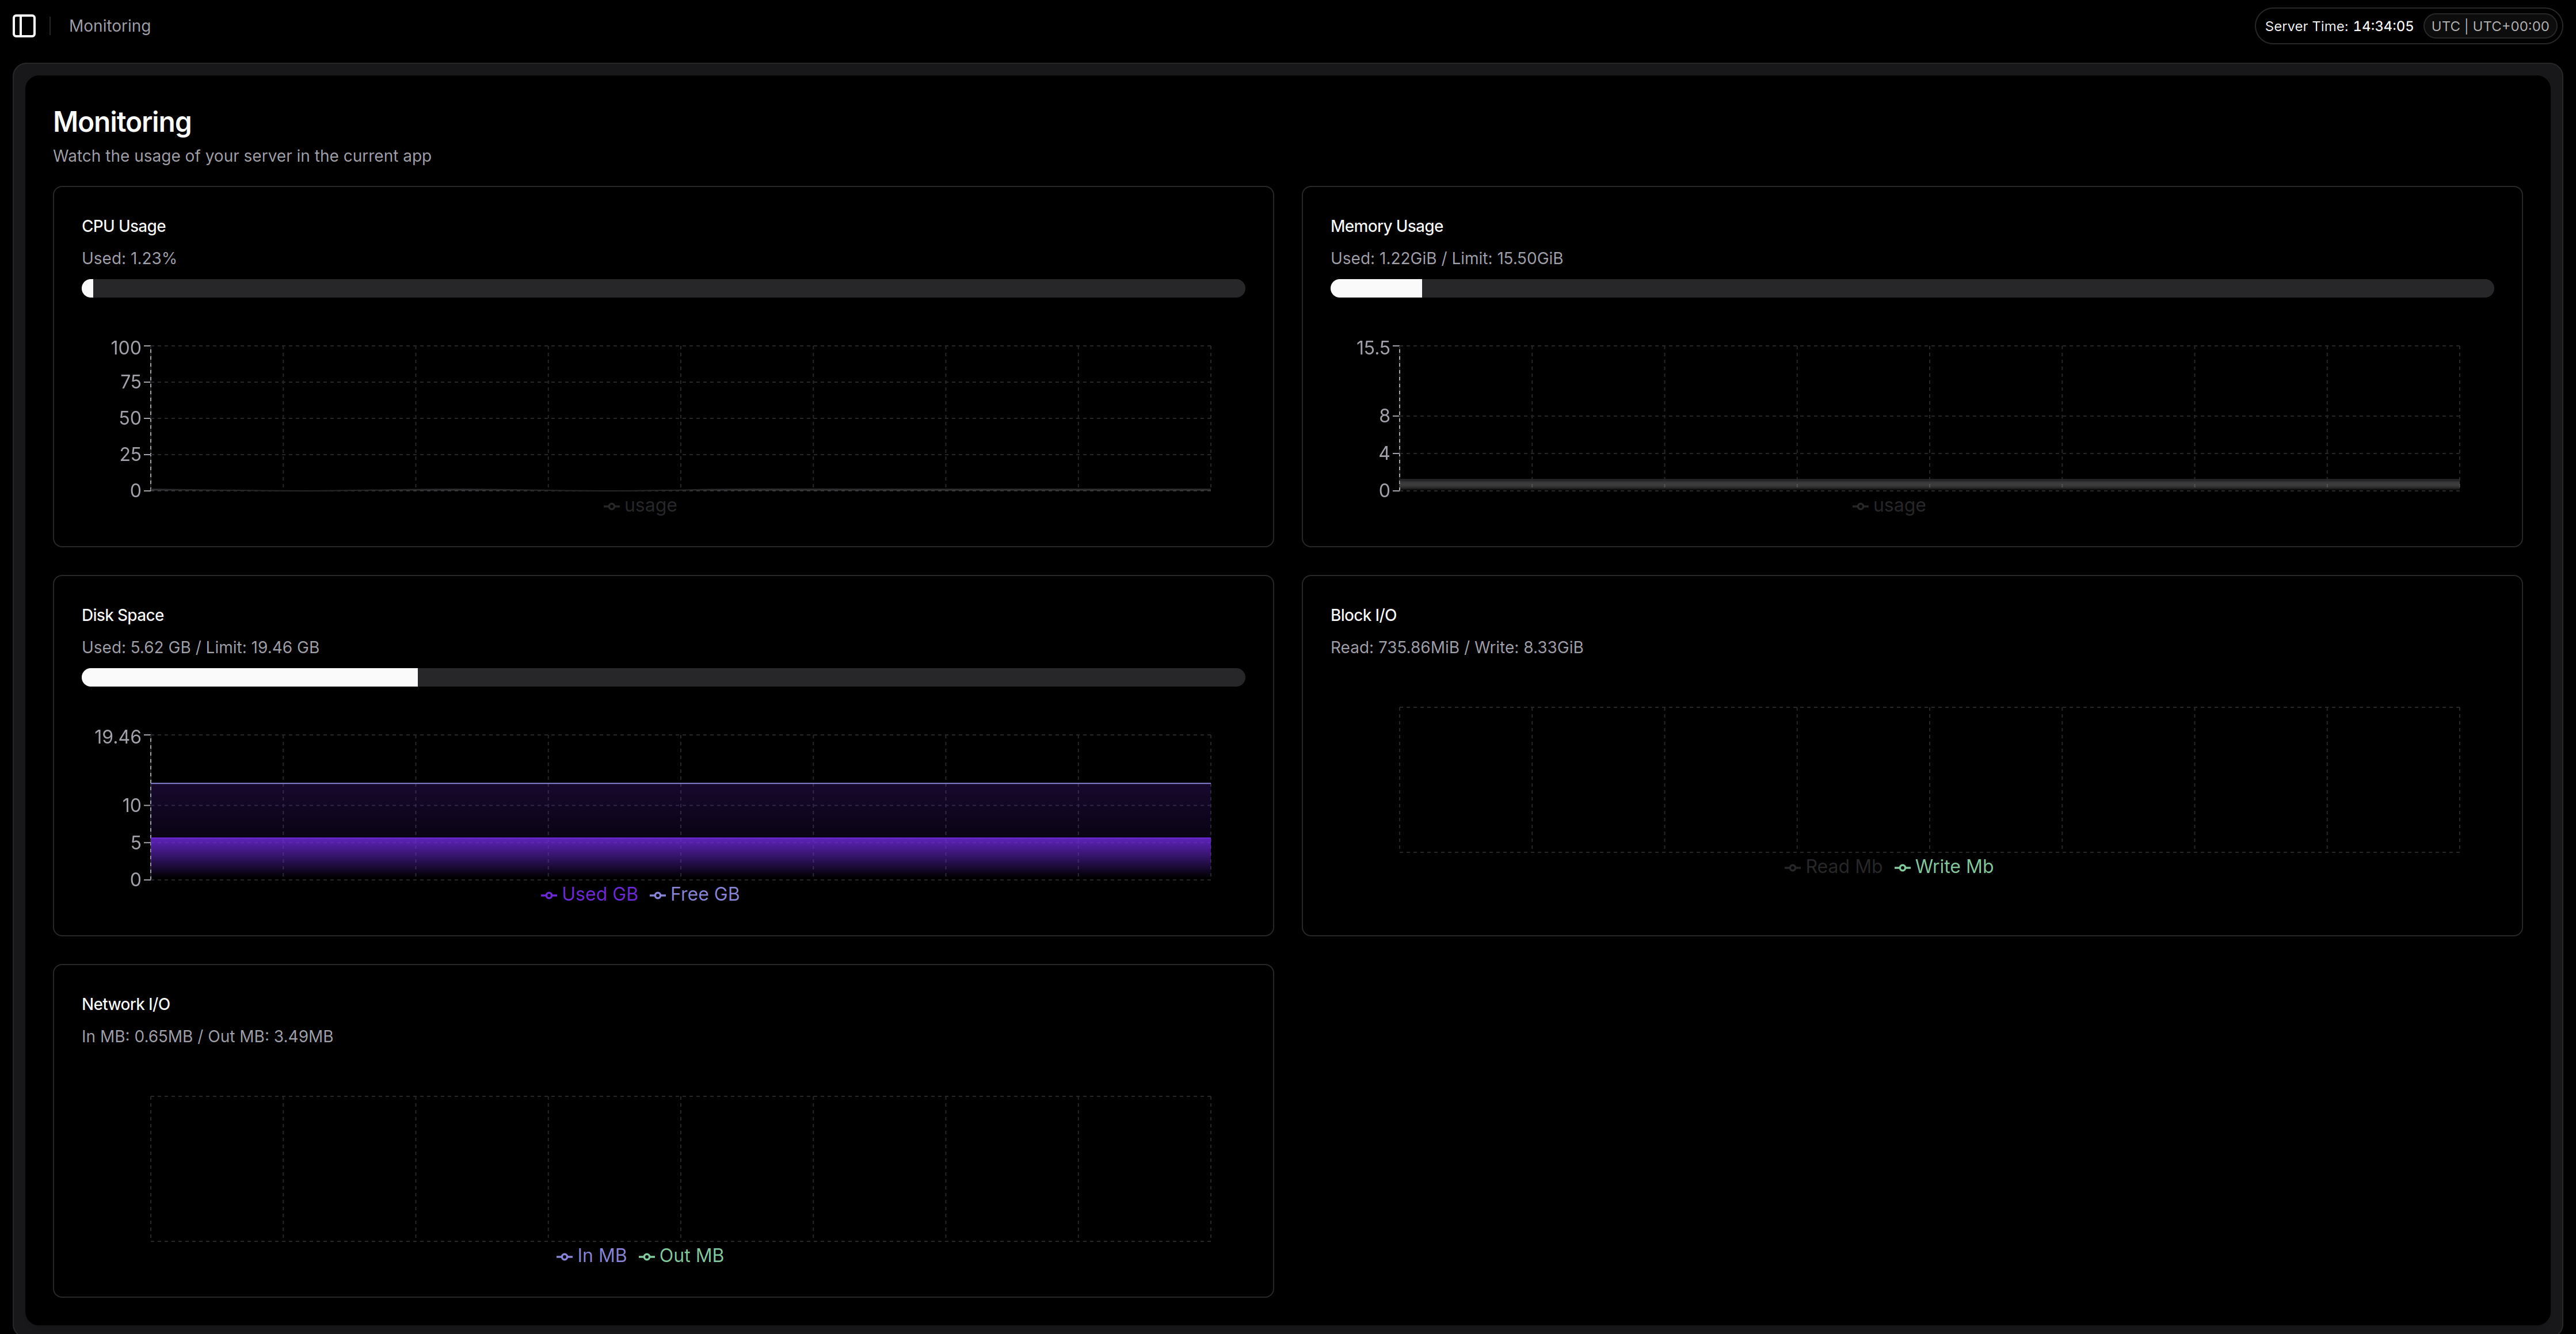
Monitoring & Schedules : Pour garder un œil sur la charge CPU/RAM et gérer les tâches cron sans avoir à éditer la crontab du host à la main.
-
Traefik File System & Docker/Swarm : La partie que j’apprécie particulièrement. Dokploy ne vous cache rien. Vous avez un accès direct aux fichiers de config du reverse proxy et à l’état de votre cluster Swarm. C’est transparent.
-
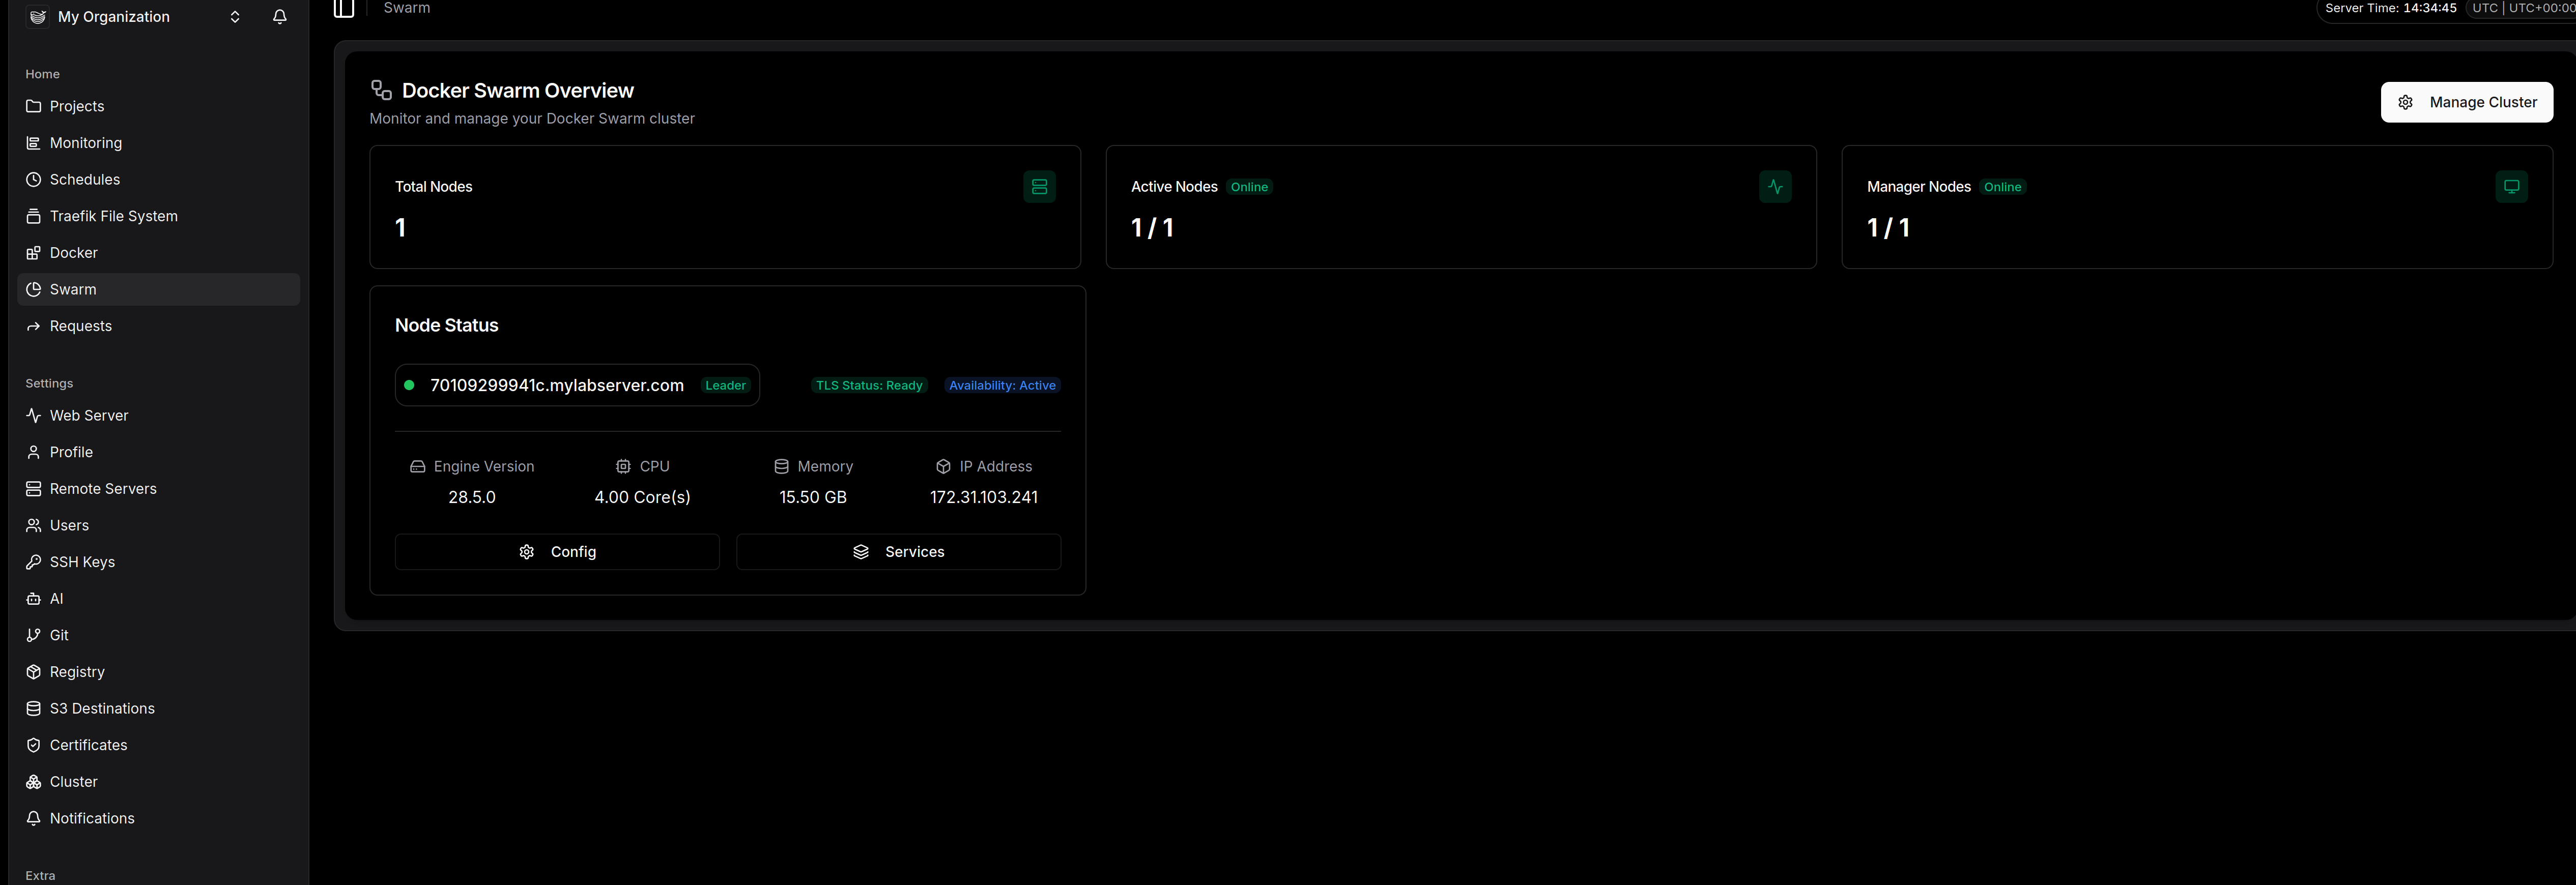
La configuration fine (Settings)
C’est là qu’on sent que l’outil est pensé pour la prod « on-premise » :
-
Remote Servers & Cluster : Dokploy n’est pas limité à un seul nœud. On peut piloter d’autres serveurs et gérer son cluster directement depuis cette interface.
-
Registry & S3 Destinations : Indispensable ! On peut lier son propre registre Docker et surtout configurer ses backups de bases de données vers du S3 (AWS, Minio ou autre).
-
Certificates : La gestion du SSL (Let’s Encrypt) est automatisée, mais vous pouvez aussi importer vos propres certificats si vous avez des contraintes de sécurité spécifiques.
Le petit plus : L’onglet AI
On notera la présence d’un menu AI. À l’heure actuelle, cela permet de configurer un modèle (type OpenAI) pour vous aider à générer des Dockerfiles ou des fichiers de configuration si vous avez un trou de mémoire sur une syntaxe. Gadget pour certains, gain de temps pour d’autres.
3) Déploiement d’un workload.
On va maintenant déployer un site wordpress via Dokploy pour voir comment tout cela fonctionne:
3.1) Déploiement de la base de données
– Créons un projet en cliquant sur « Create Project » depuis l’onglet « Projects »:
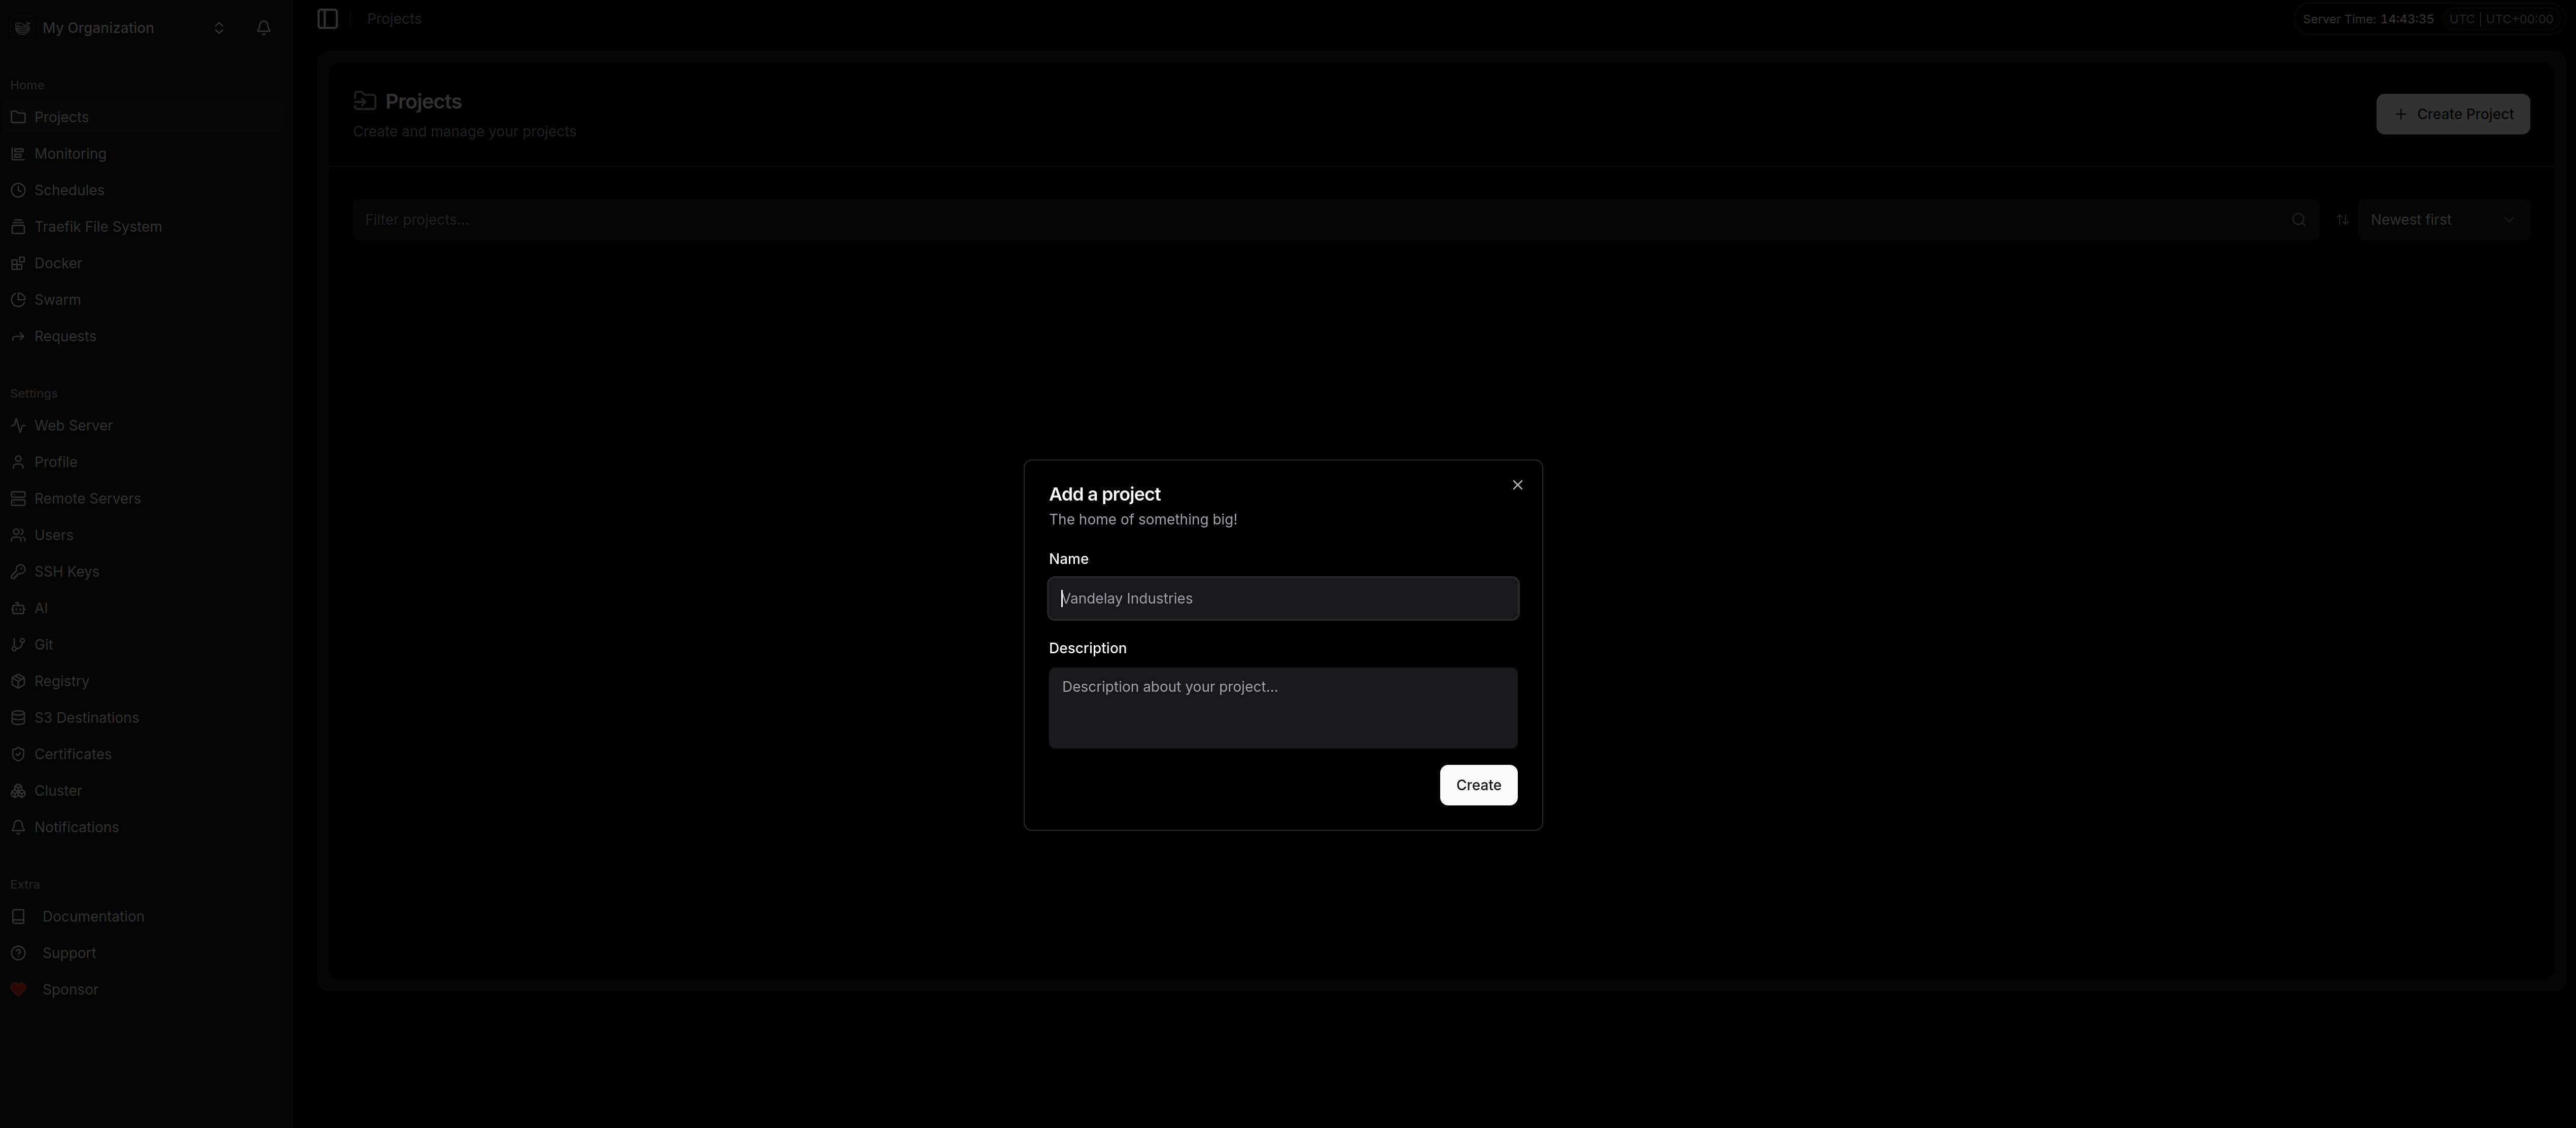
– Une fois le projet créé, nous allons déployer ce dont nous avons besoin pour faire tourner un site wordpress: une application et une database
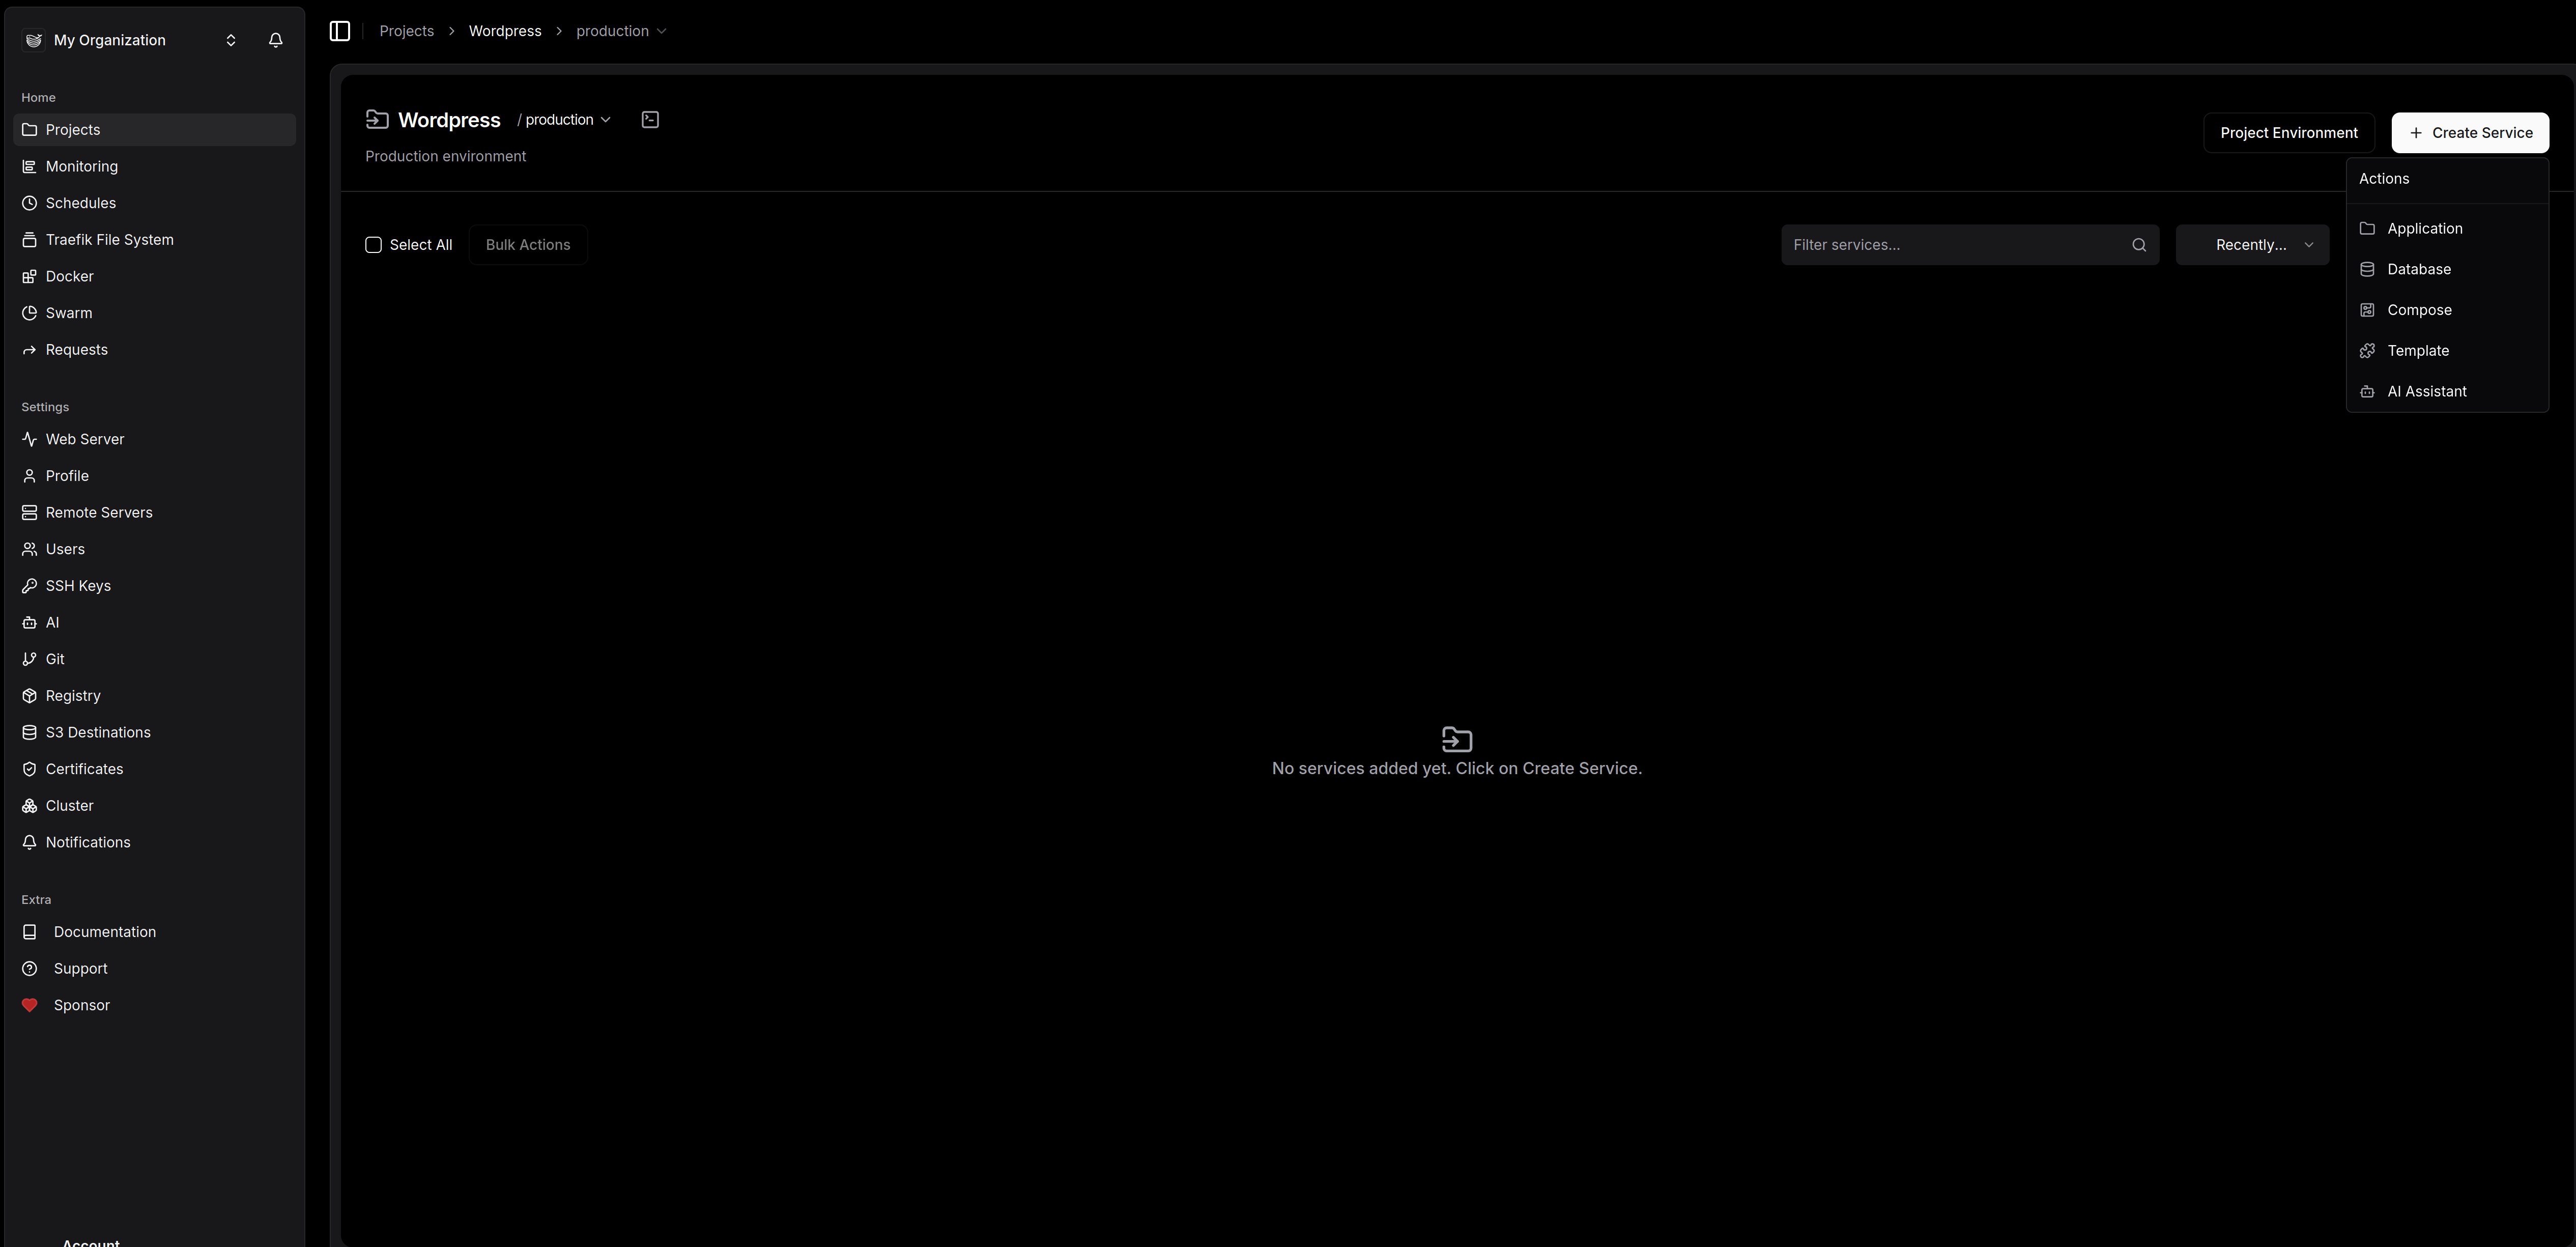
– Commencons pas la base de donnée: cliquez sur « service » et « database. »
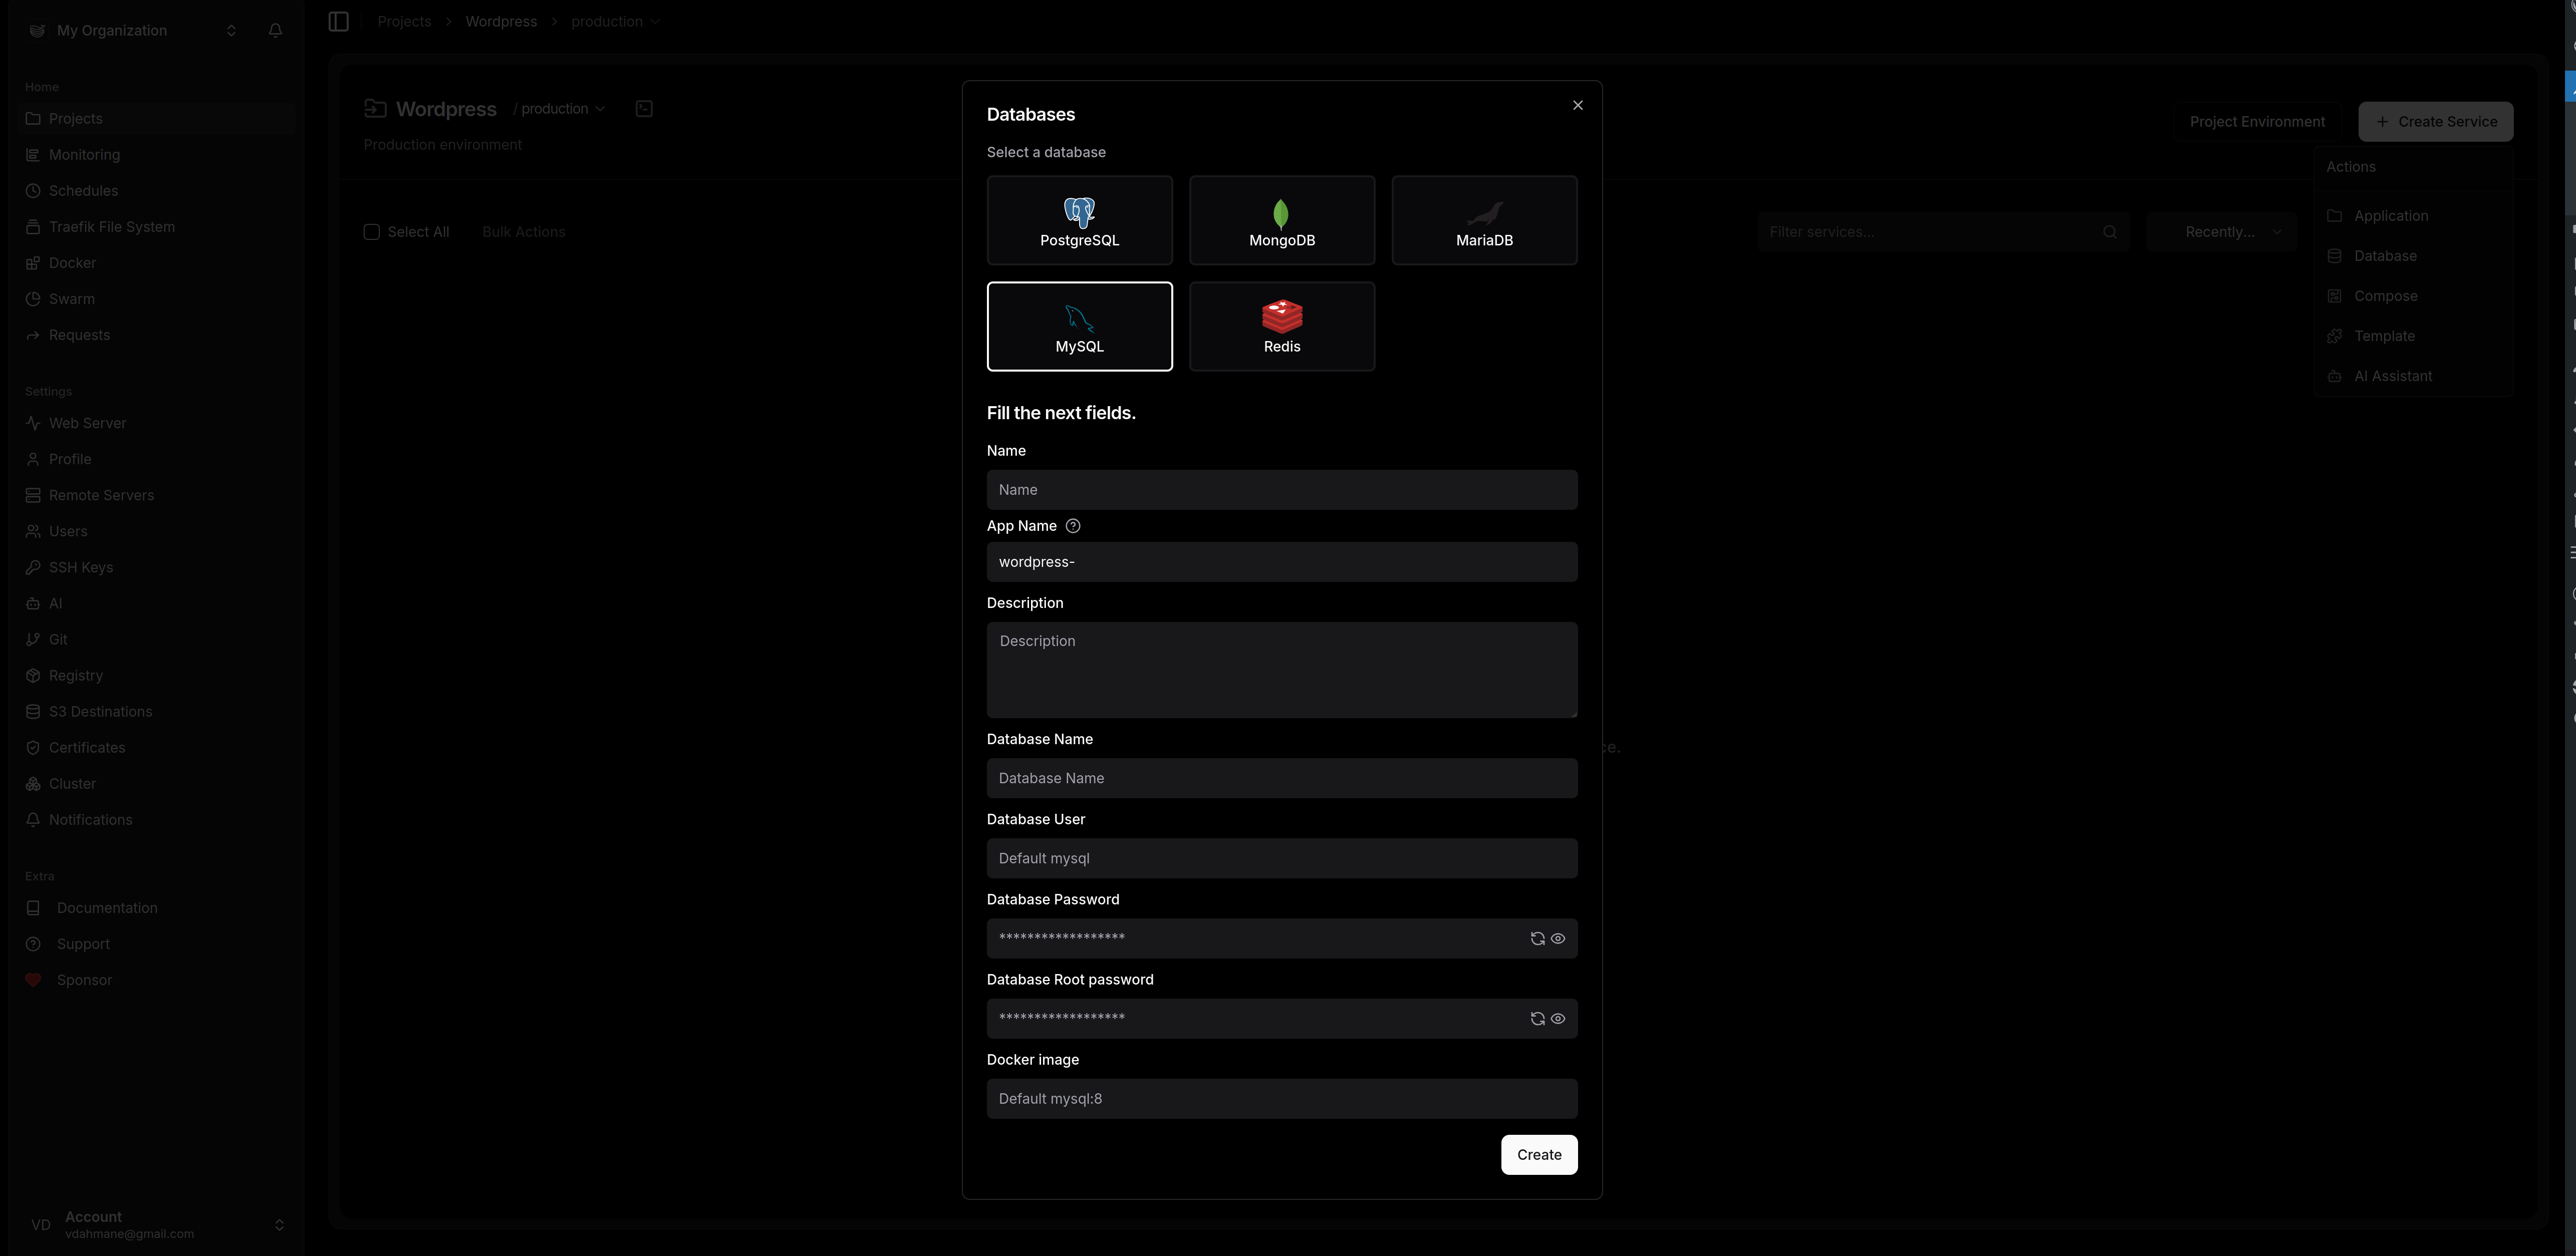
Comme vous pouvez le voir, l’éventail de choix est large ; pour ce tuto, nous partons sur une base MySQL. Remplissez simplement les champs de configuration et validez en cliquant sur « Create ».
Il ne reste plus qu’à déployer la base de données en cliquant sur le bouton « Deploy »
C’est beau!!
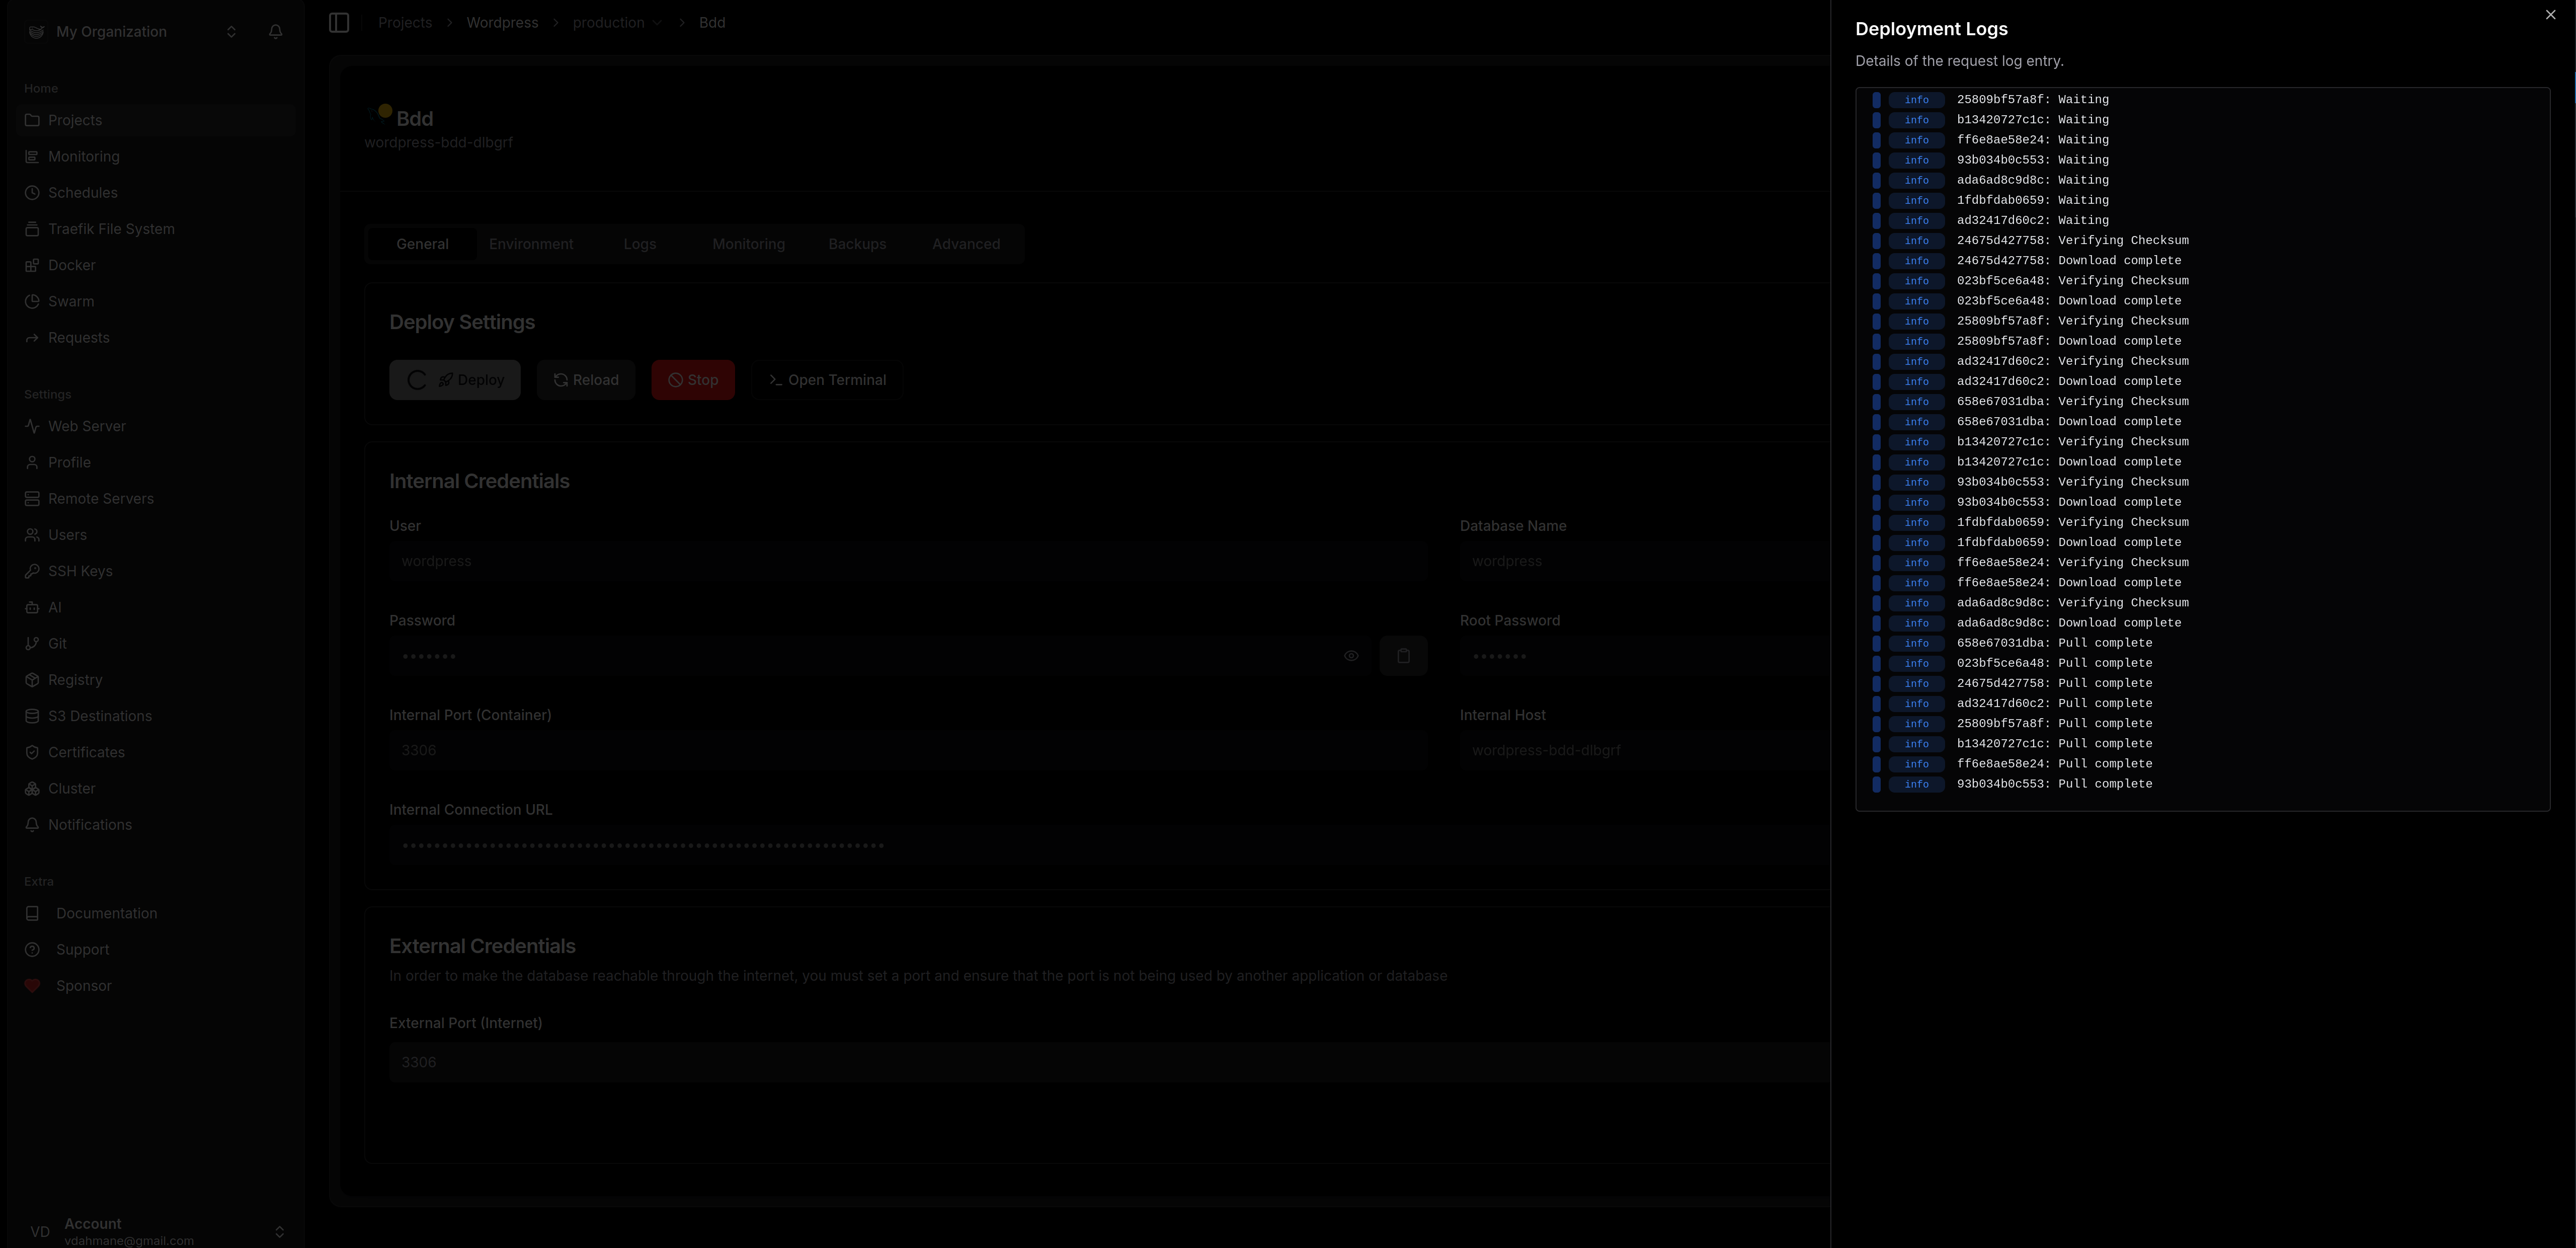
En vérifiant on peut peut voir que le container est bien démarré (1er ligne)

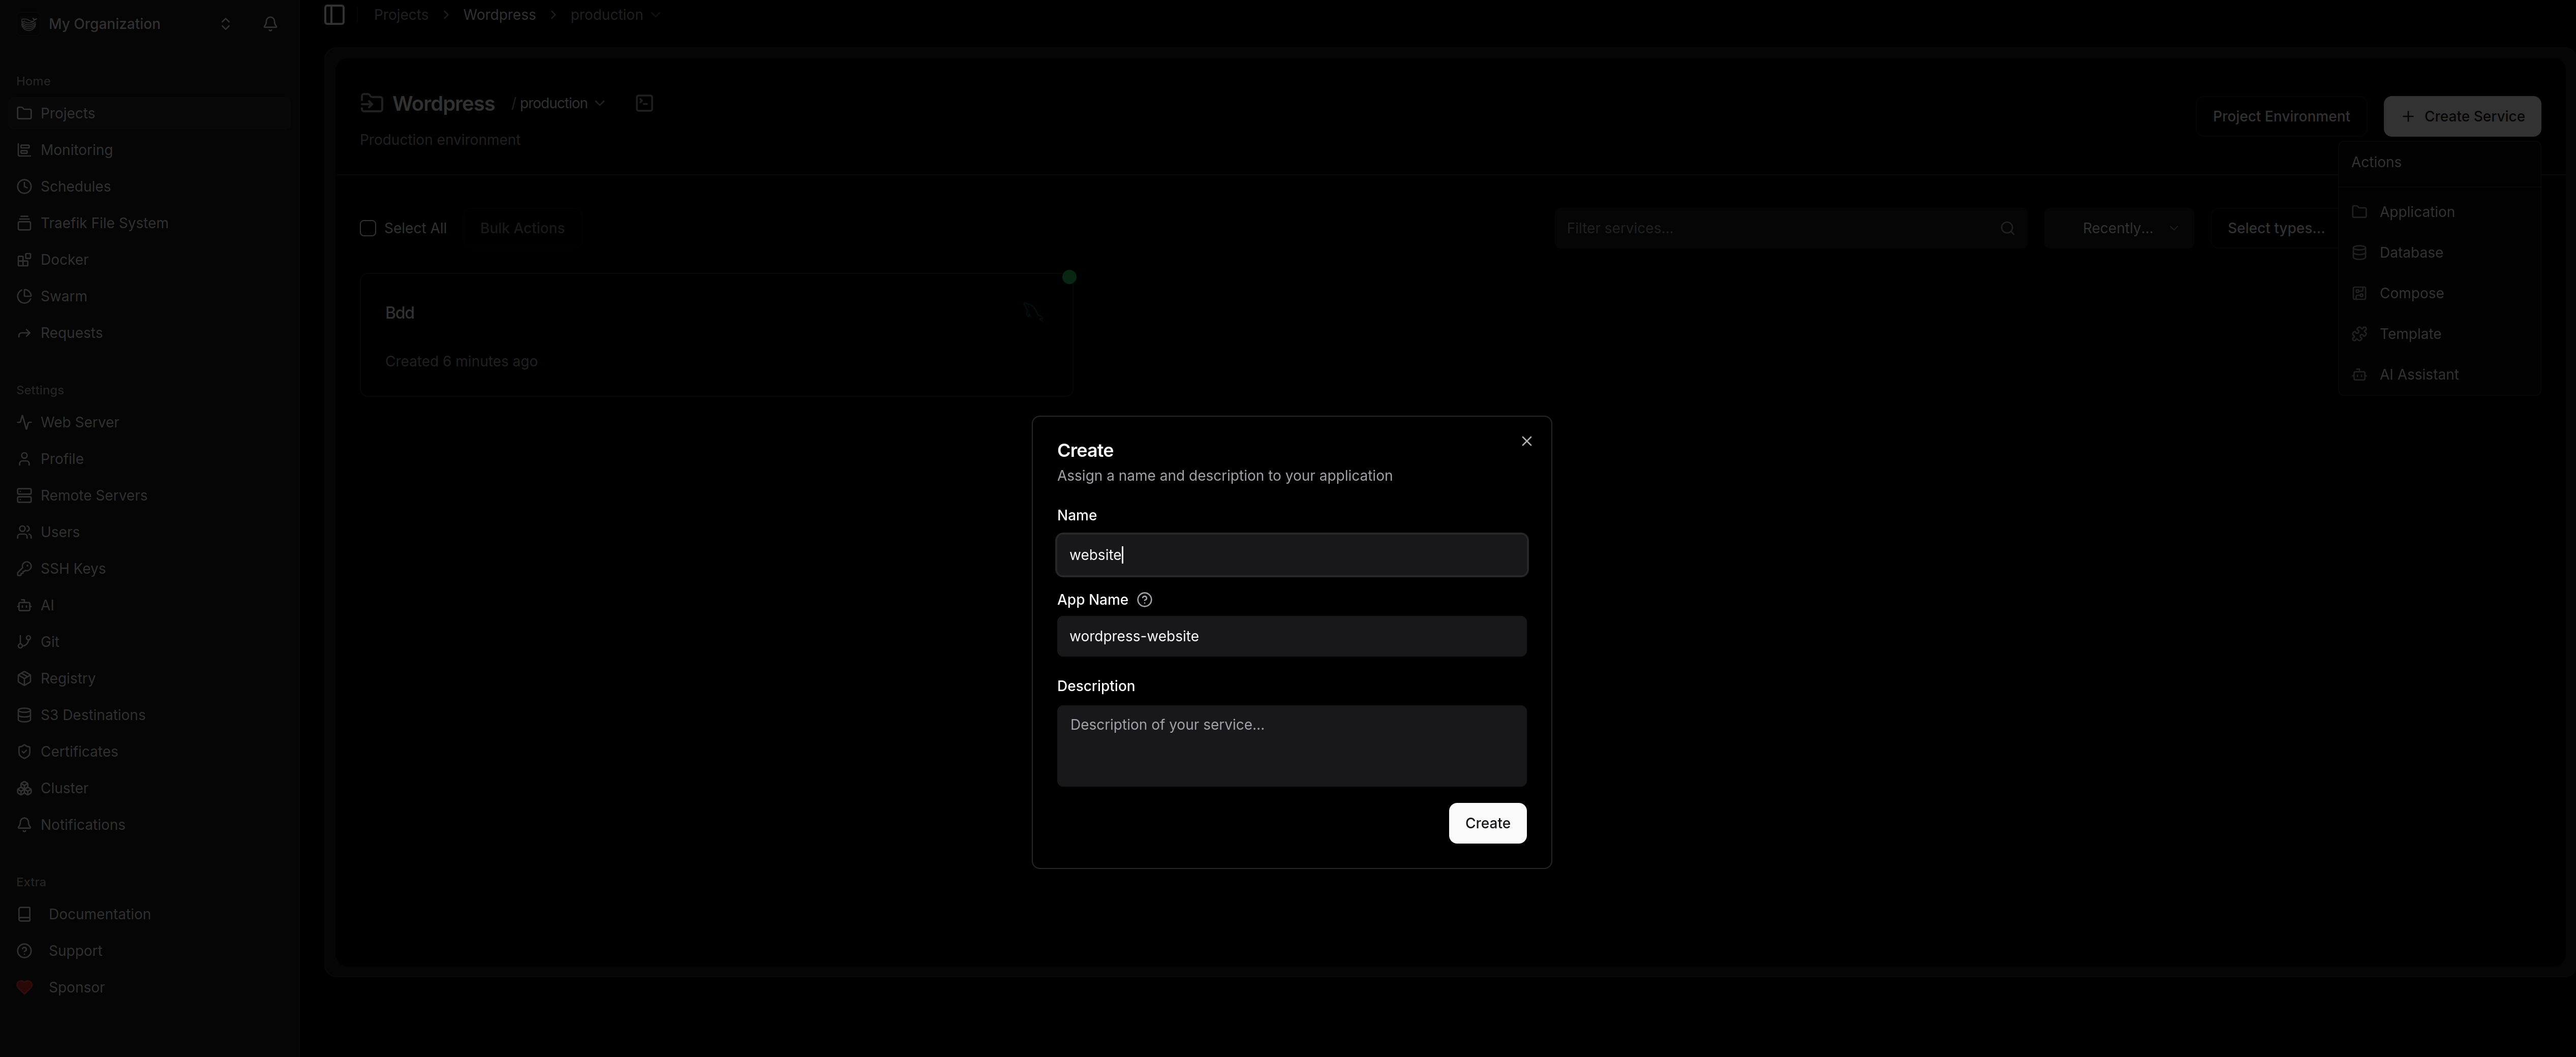
3.) Déploiement de WordPress
Ca repart, on crée un nouveau service de type application que l’on va nommer « website »:
On clique sur le service que l’on vient de créer pour le configurer :
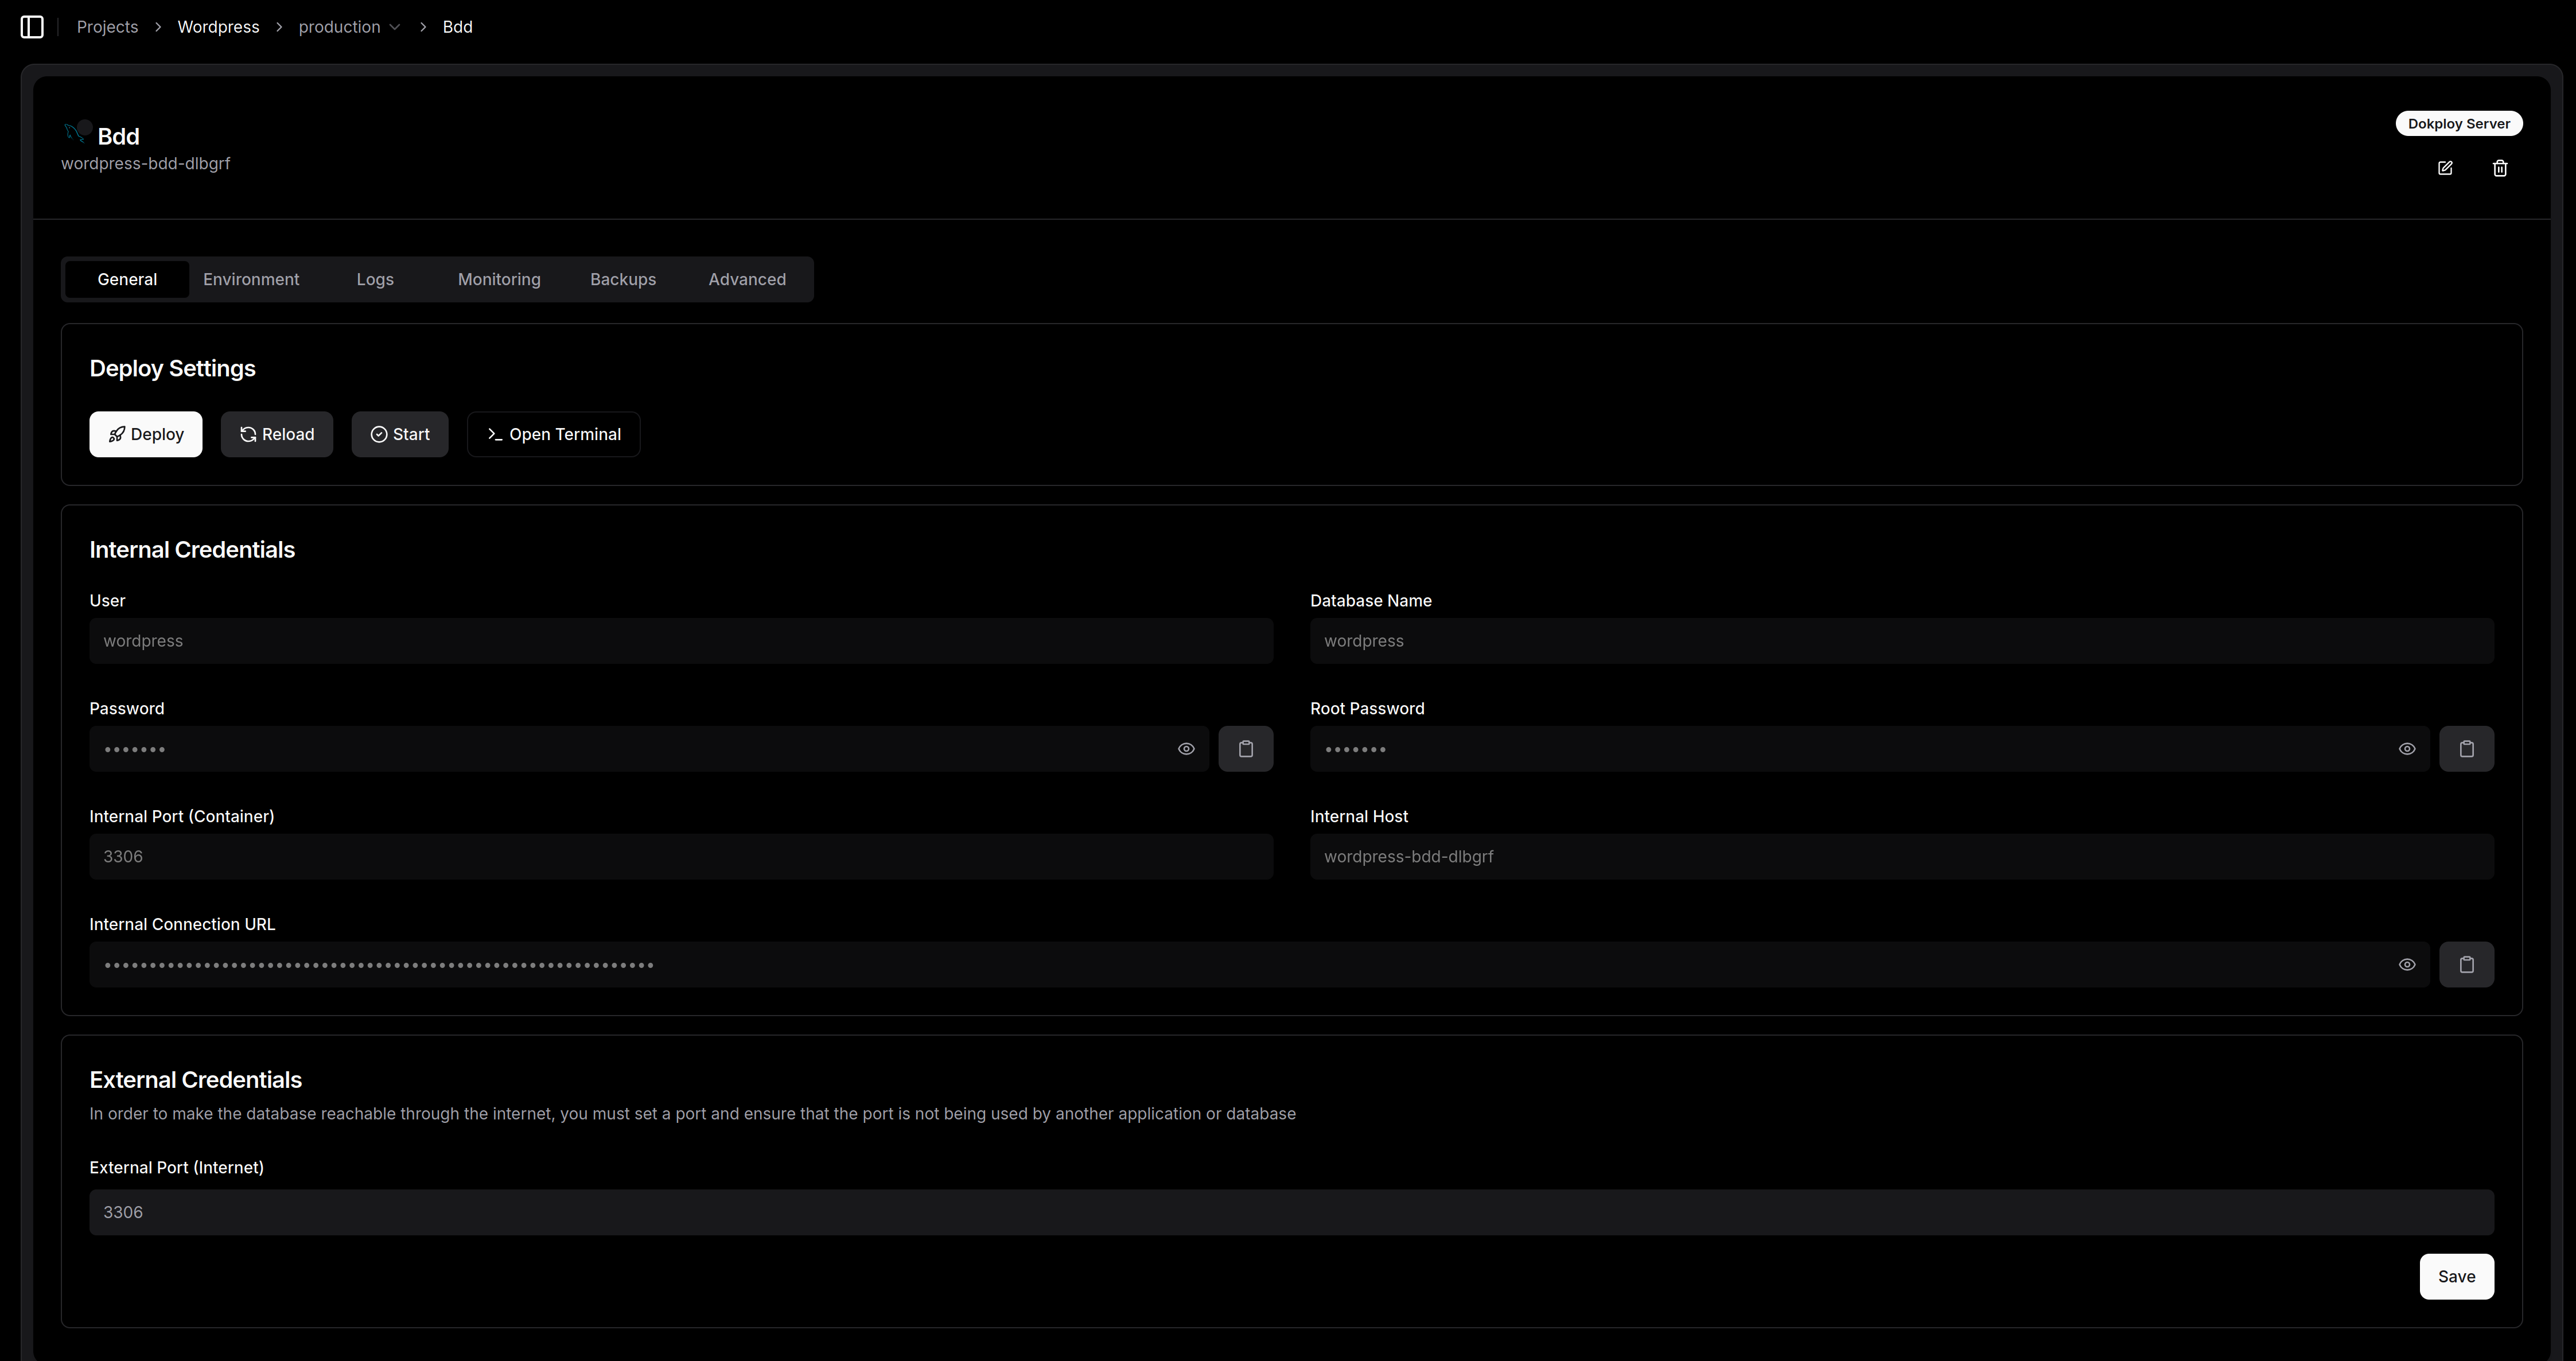
Arrétons nous un instant pour rentrer dans le détail de cette interface de configuration:
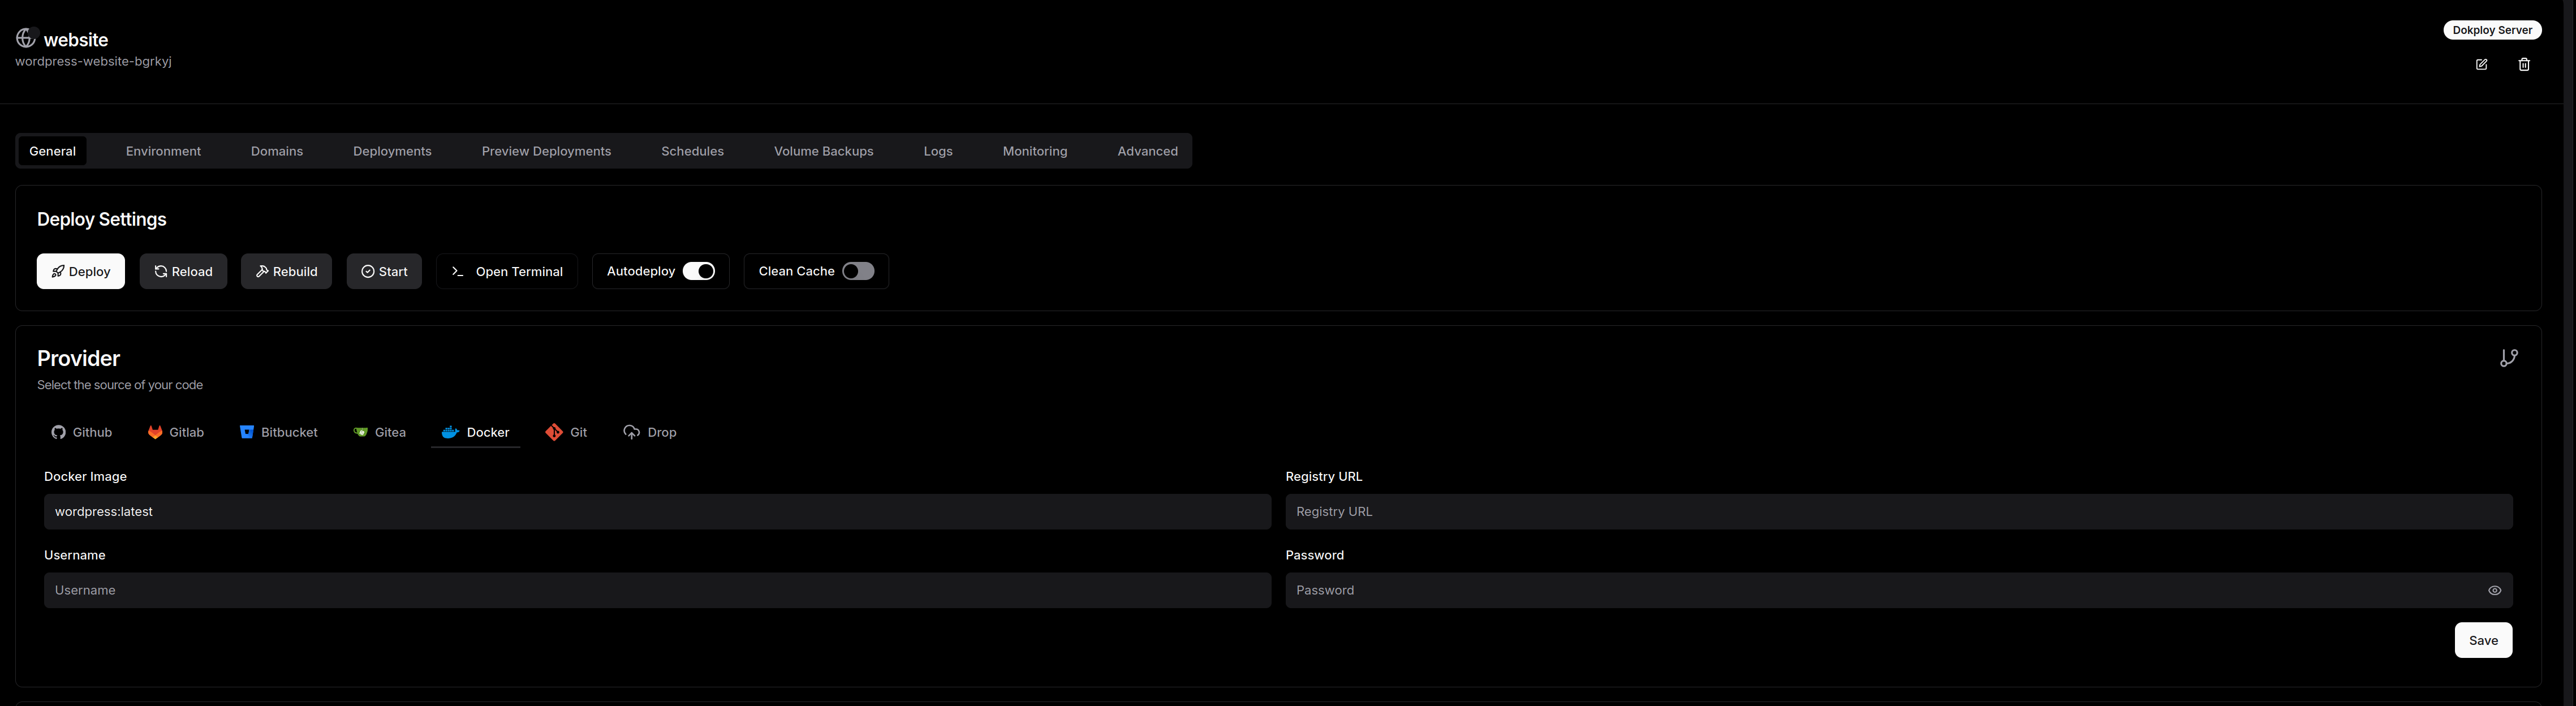
C’est ici que la magie du PaaS opère. Une fois votre projet créé (ici je l’ai nommé « WordPress »), on rentre dans le vif du sujet avec la configuration de notre service. L’interface de déploiement est un modèle du genre : complète mais sans fioritures.
Le pilotage du déploiement
En haut de page, on retrouve nos commandes de vol habituelles : Deploy, Reload, Rebuild ou encore Start. Mention spéciale pour le bouton Open Terminal qui permet de garder un pied dans le conteneur sans quitter son navigateur. On peut aussi activer l’Autodeploy pour que chaque push sur votre branche déclenche la mise à jour, ou forcer un Clean Cache si vous avez des doutes sur votre build.
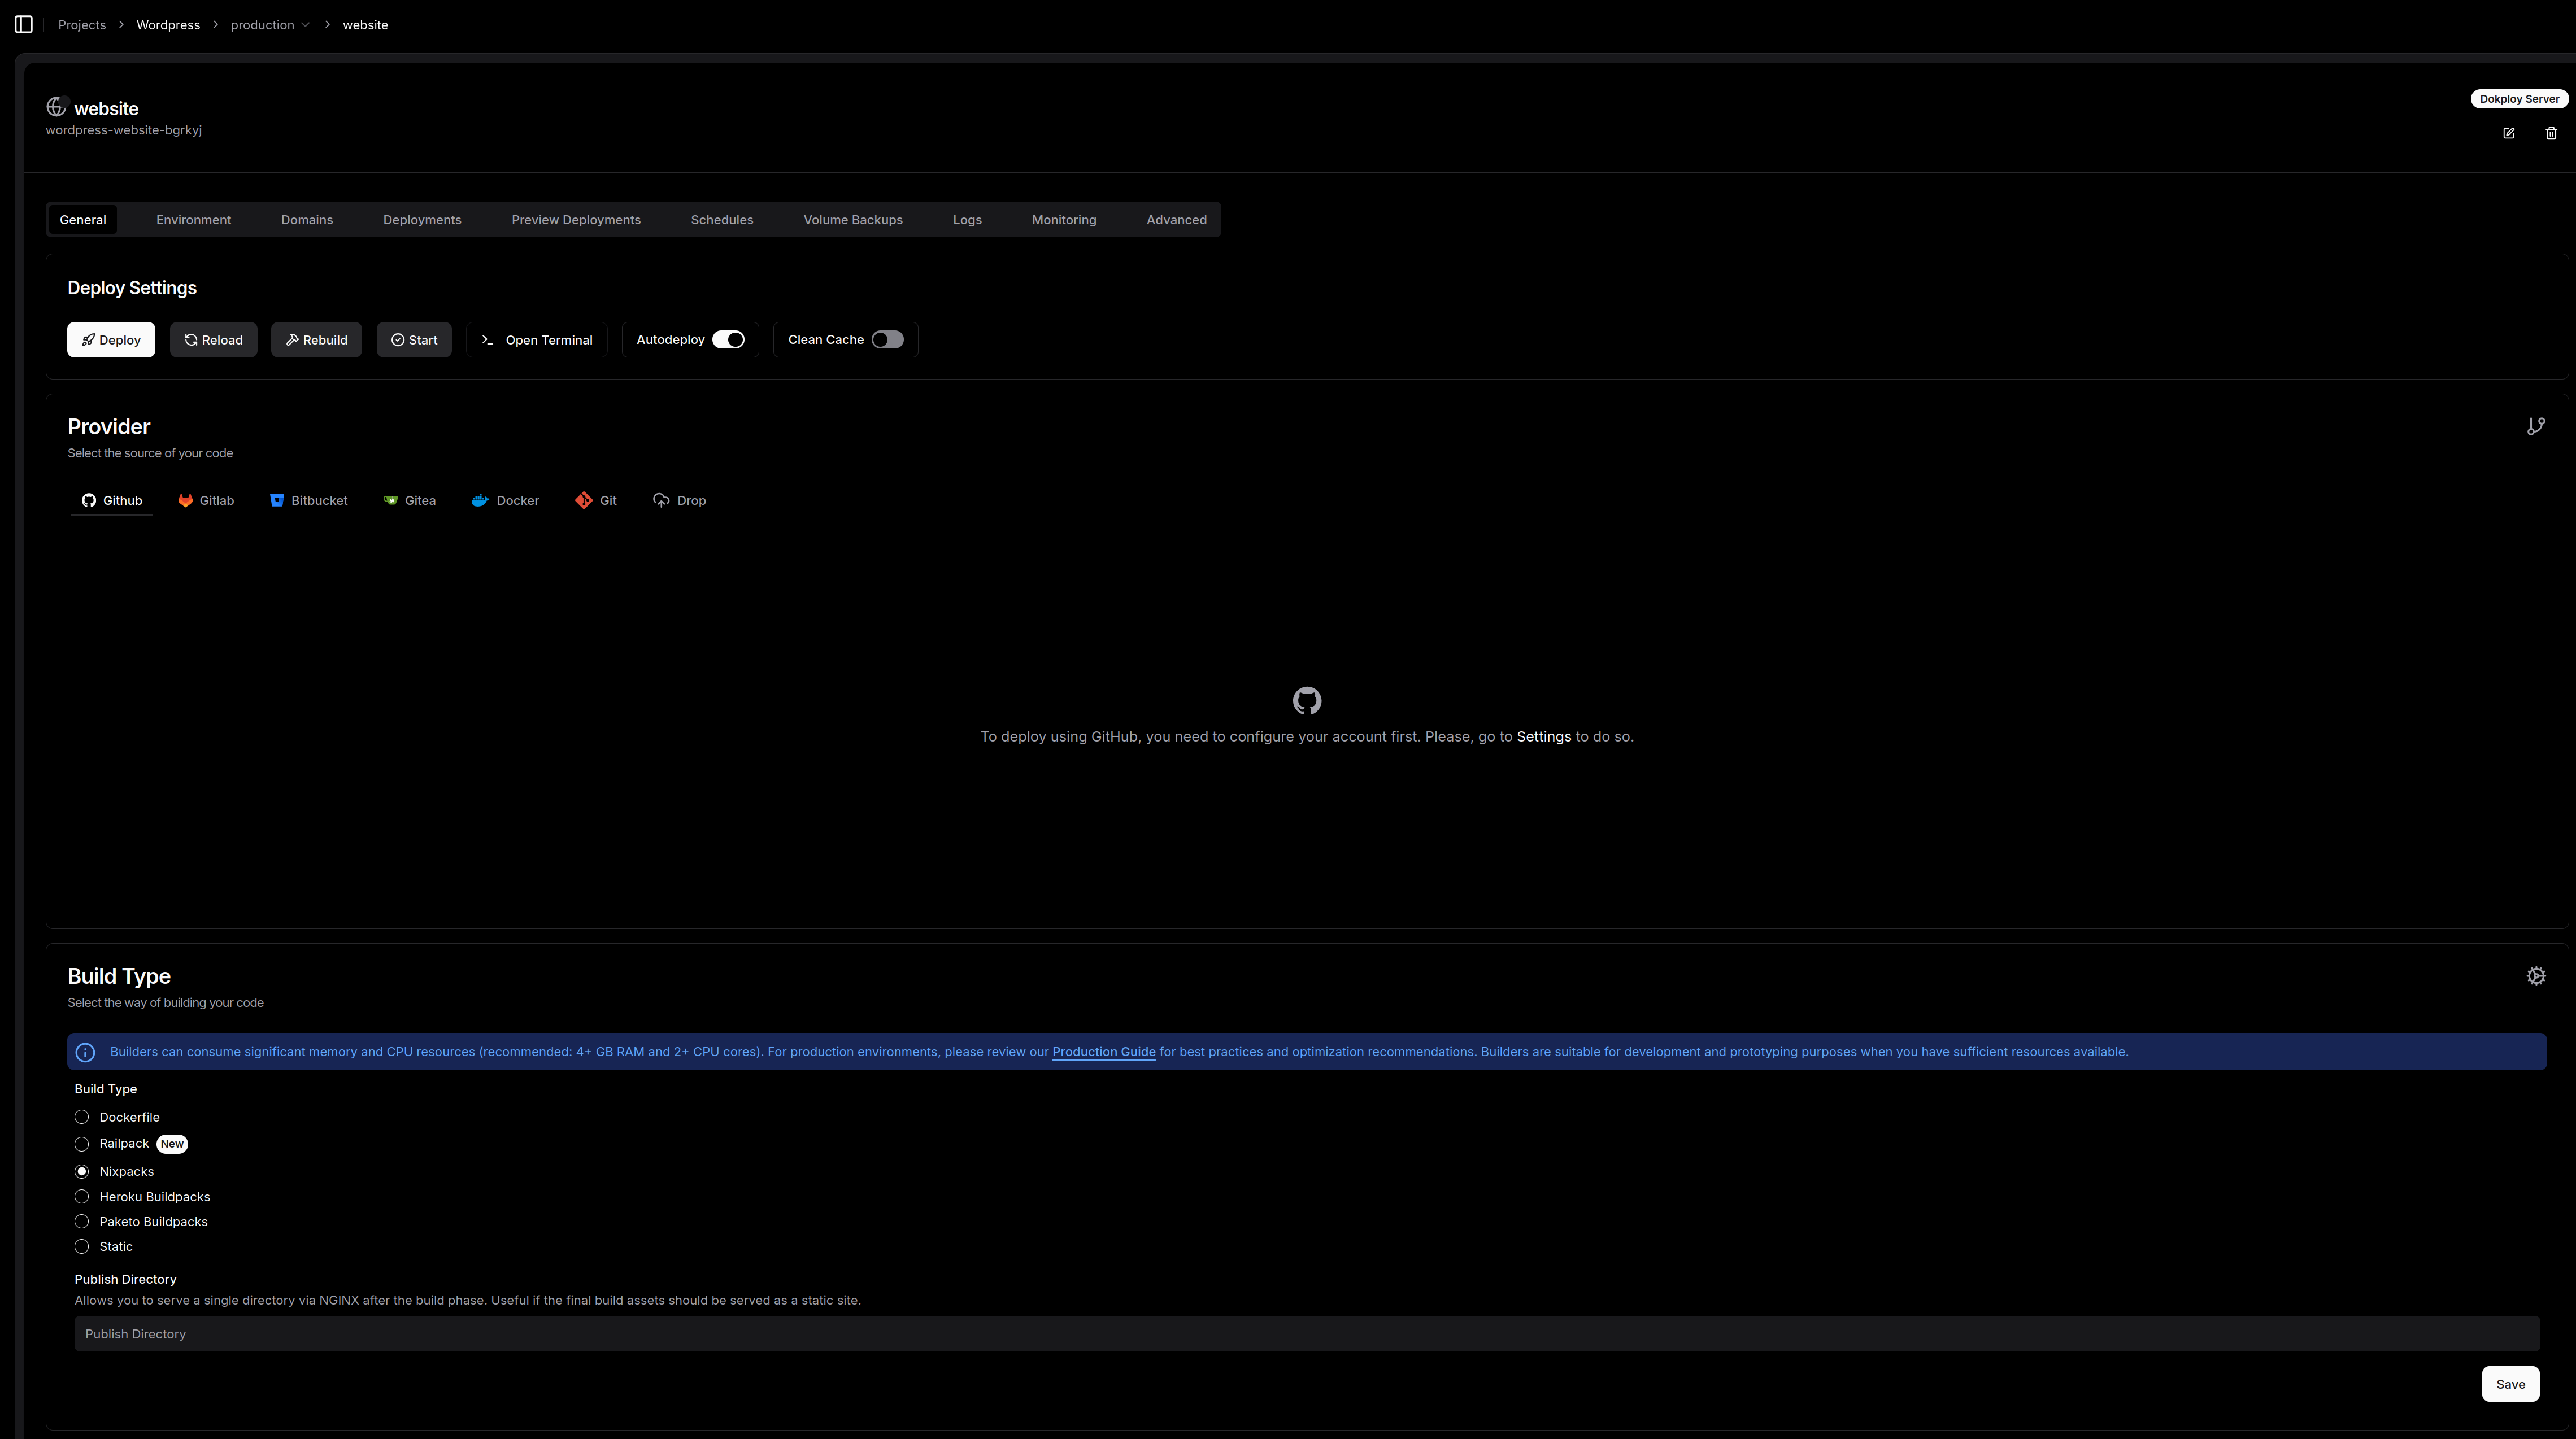
Le choix de la source (Provider)
Dokploy est très souple sur l’origine du code :
-
Git pur jus : Intégration directe avec GitHub, GitLab, Bitbucket ou même une instance Gitea auto-hébergée (cohérent avec notre approche souveraine).
-
Docker : Vous pouvez aussi simplement tirer une image depuis un registre Docker.
-
Drop : Pour les plus pressés, on peut même envoyer directement un fichier.
La cuisine interne : Build Type
C’est là que l’admin va pouvoir choisir sa méthode préférée pour transformer le code en conteneur :
-
Dockerfile : Pour ceux qui aiment garder le contrôle total sur leur image.
-
Nixpacks (par défaut) : C’est l’option moderne qui analyse votre code et crée l’image optimale tout seul.
-
Heroku/Paketo Buildpacks : Pour rester compatible avec les standards du marché.
Petit conseil d’admin : Comme indiqué par l’alerte dans l’interface, le build peut être gourmand en ressources (CPU/RAM). Avec mes 16Go de RAM, je suis large, mais gardez un œil sur vos petites instances lors des phases de compilation.
On retrouve également des onglets cruciaux pour la prod : Environment pour vos variables secrètes, Domains pour le mapping DNS avec SSL automatique, et Volume Backups pour ne pas oublier que la donnée, c’est sacré.
Pour notre usecase nous allons déployer une image wordpress depuis le docker hub, pour cela cliquez sur le provider Docker:
Faisons un petit tour dans l’onglet environnement pour renseigner les informations de connexions à la base de donnée que nous venons de créer juste avant (cliquez sur le petit oeil en haut à droite pour activer le mode édition):
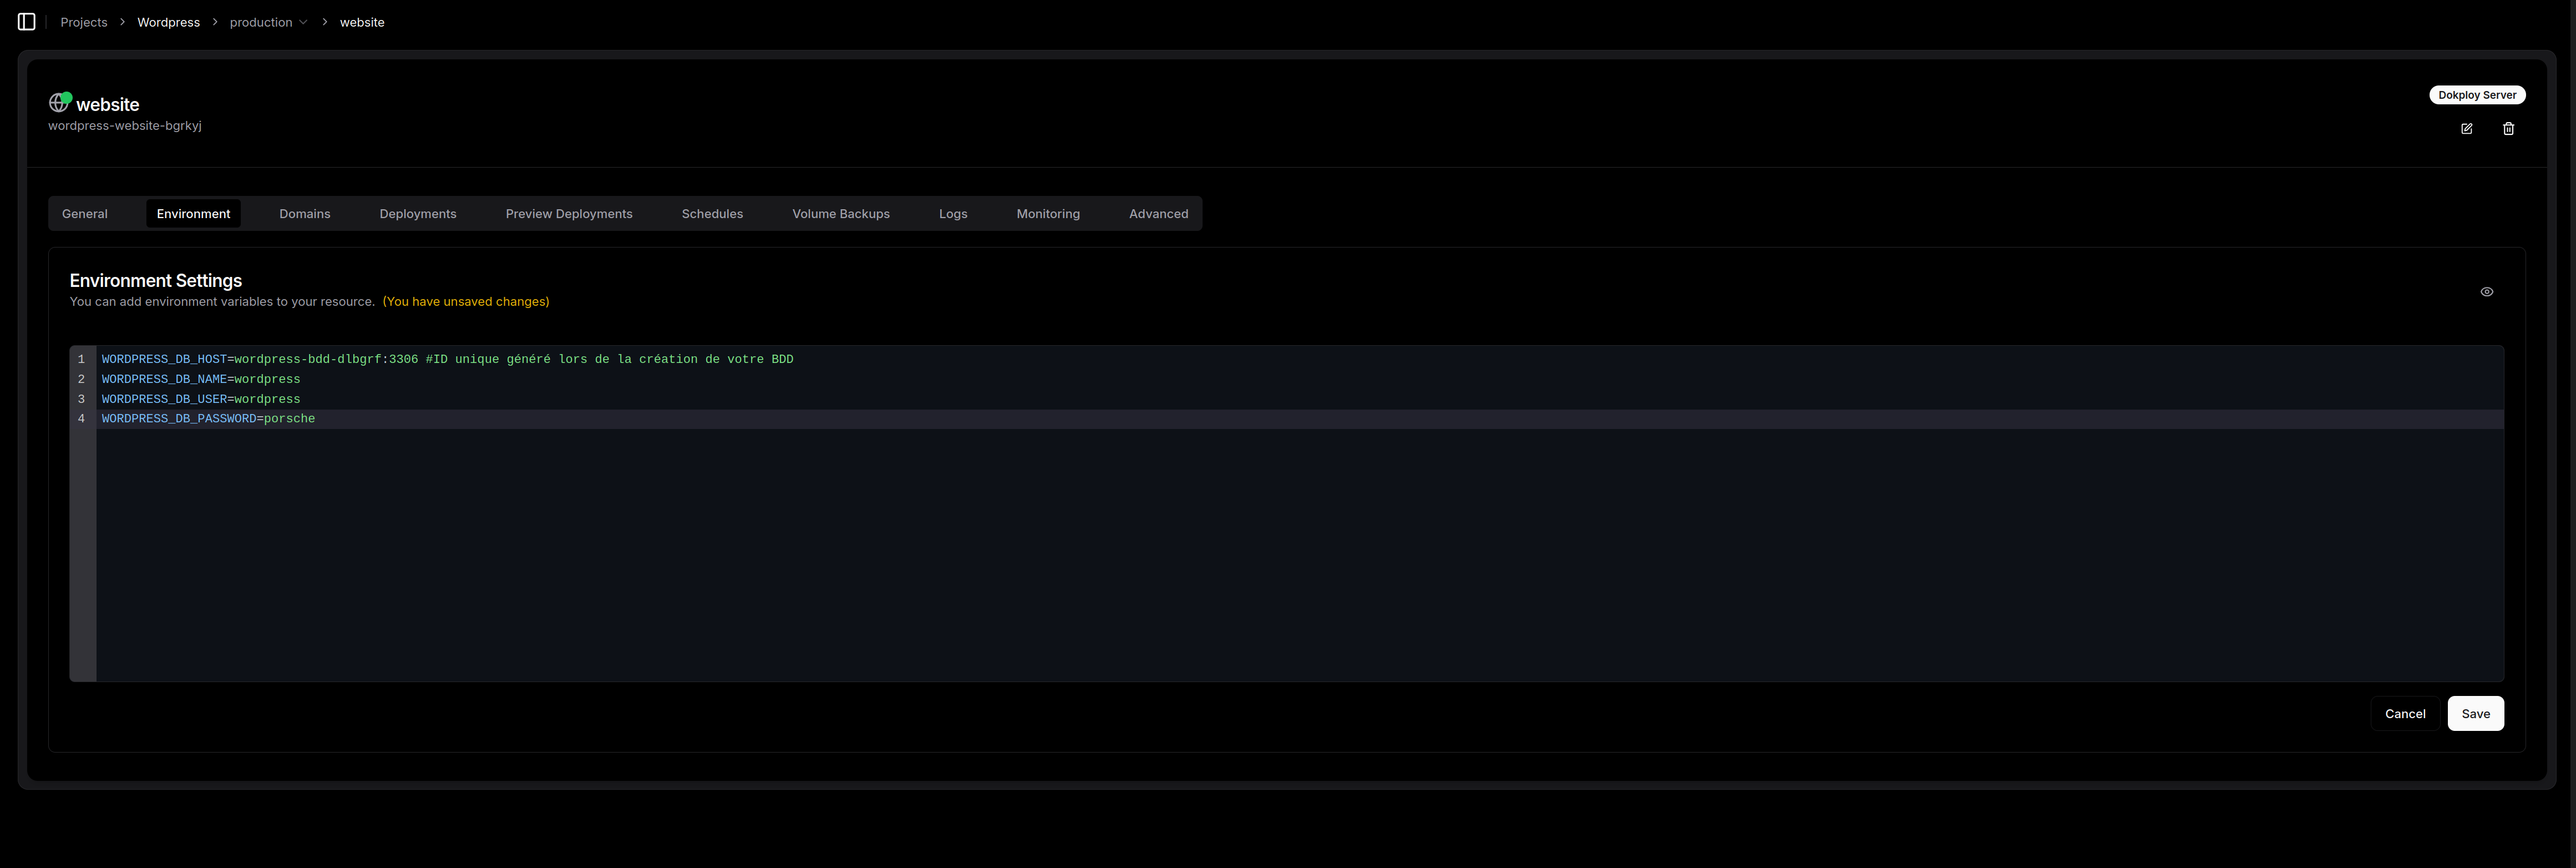
Cliquez sur « save »
L’astuce de sioux : Accéder au site sans DNS avec sslip.io
C’est le moment où l’admin a fini sa conf et veut voir le résultat, mais n’a pas forcément envie d’aller modifier ses zones DNS chez son registrar pour un simple test.
C’est là qu’intervient sslip.io. Pour ceux qui ne connaissent pas, c’est un service de « DNS Wildcard » génial : il résout n’importe quel nom de domaine contenant une adresse IP vers cette même adresse IP.
-
Si vous tapez
13.42.26.29.sslip.io, le service vous renvoie vers13.42.26.29. -
Pas de configuration, pas d’attente de propagation. C’est instantané.
La marche à suivre dans Dokploy :
Cliquez sur domain et « Add Domain »
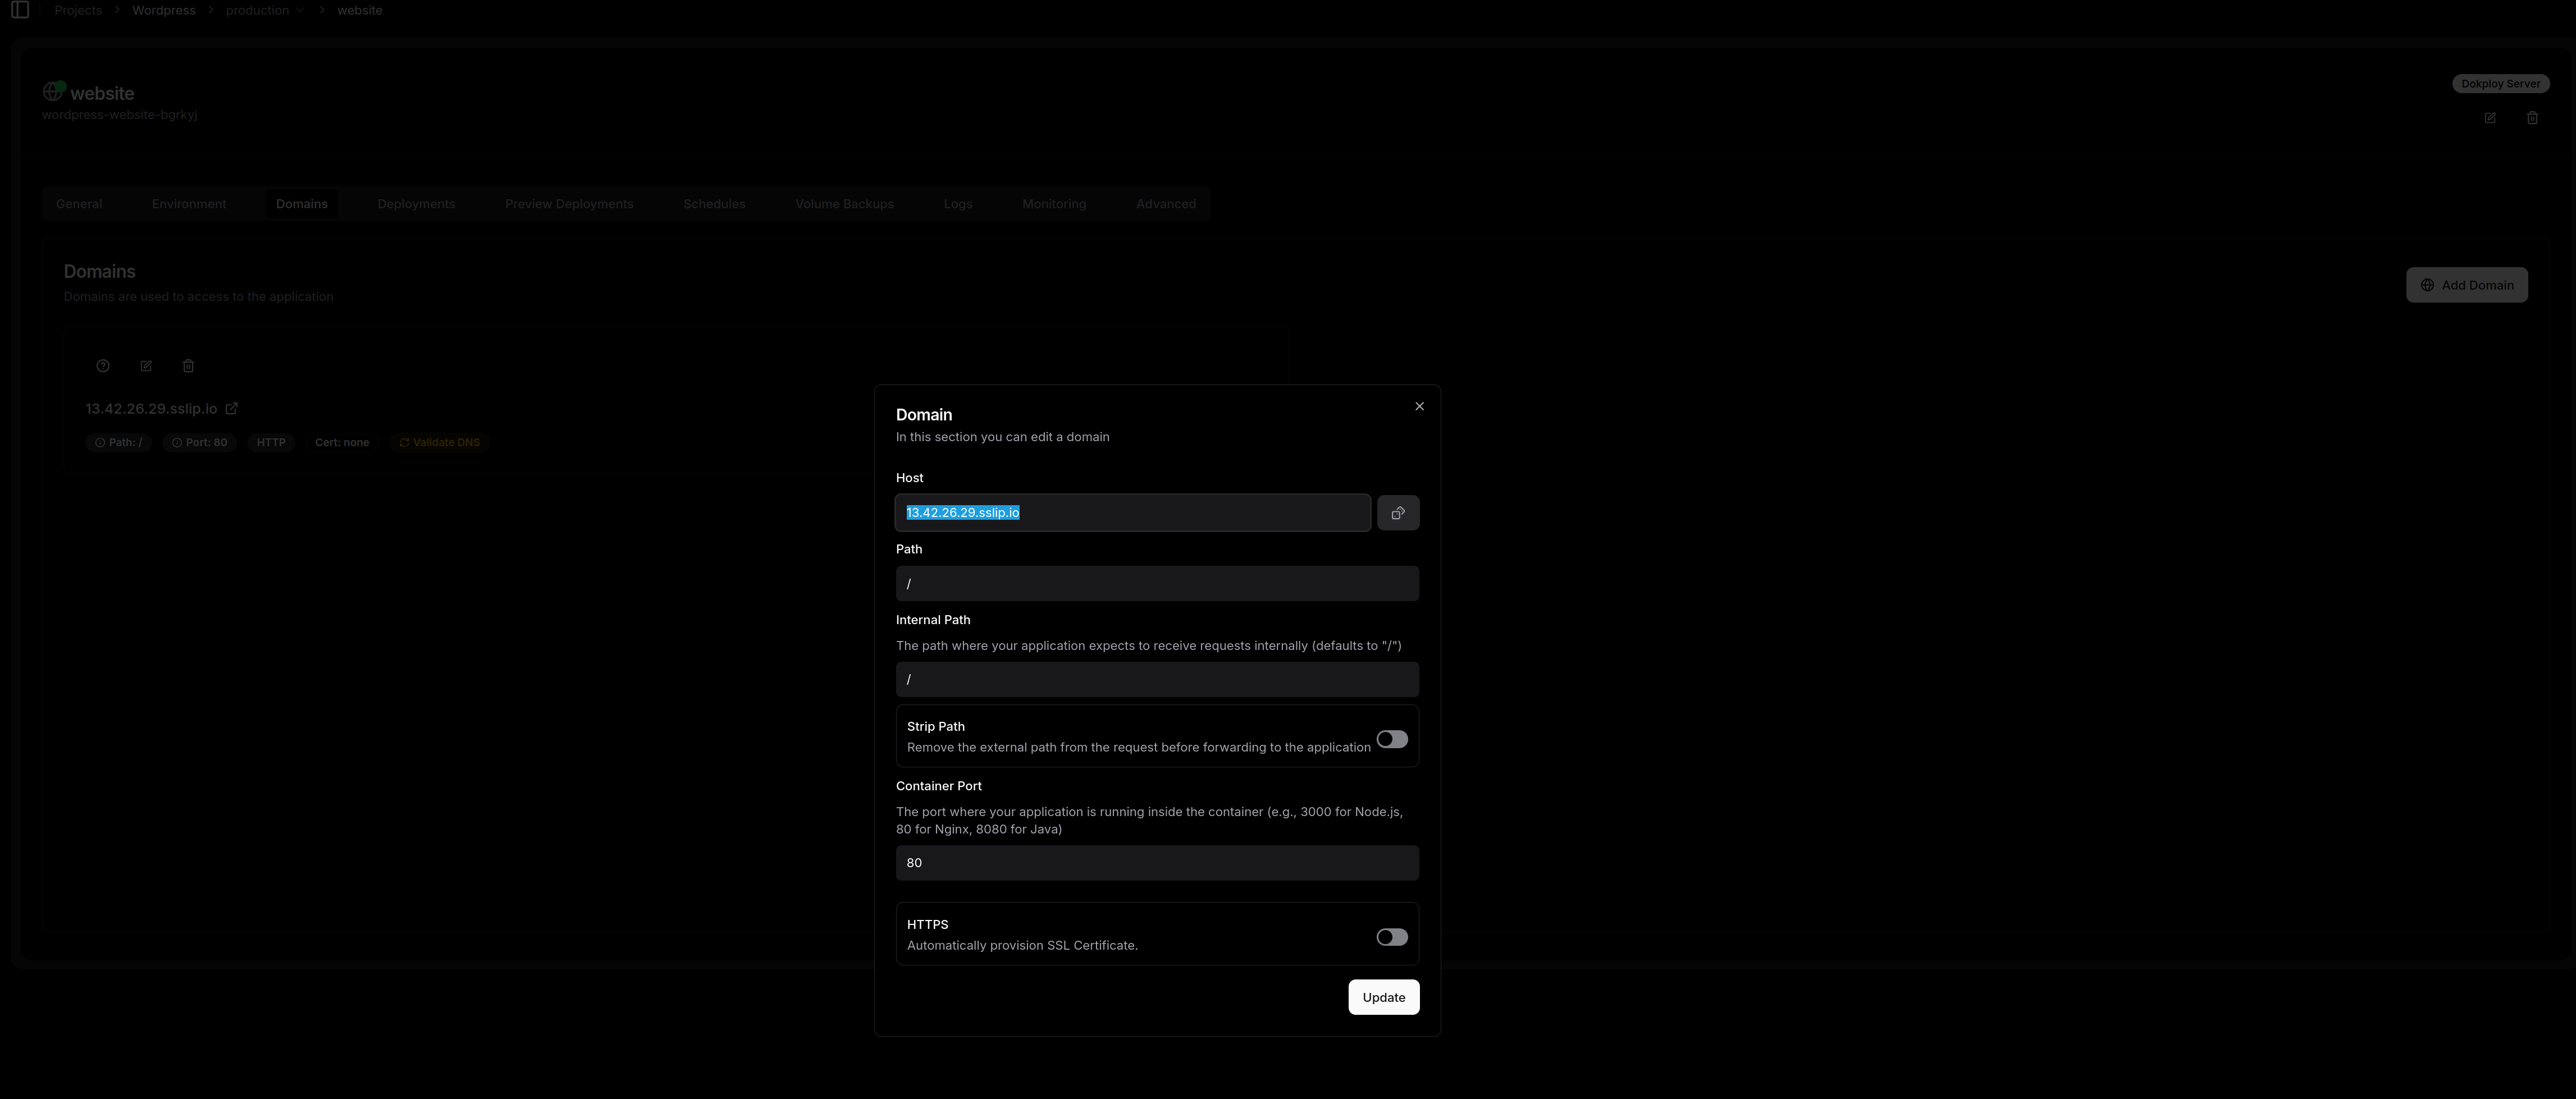
Comme vous le voyez sur ma capture, la configuration est un jeu d’enfant :
-
Host : On renseigne l’IP de notre VM suivie de
.sslip.io(dans mon cas :13.42.26.29.sslip.io). -
Container Port : Attention ici ! C’est le piège classique. Dokploy propose souvent le port 3000 par défaut. Mais notre image WordPress officielle, elle, écoute sur le port 80. Il faut donc impérativement changer cette valeur pour que Traefik sache où envoyer le trafic à l’intérieur du conteneur.
-
HTTPS : Pour un test rapide sur sslip.io, on peut le laisser décoché. Si vous voulez du SSL, Traefik tentera de le générer, mais Let’s Encrypt peut parfois tiquer sur les domaines en sslip.io.
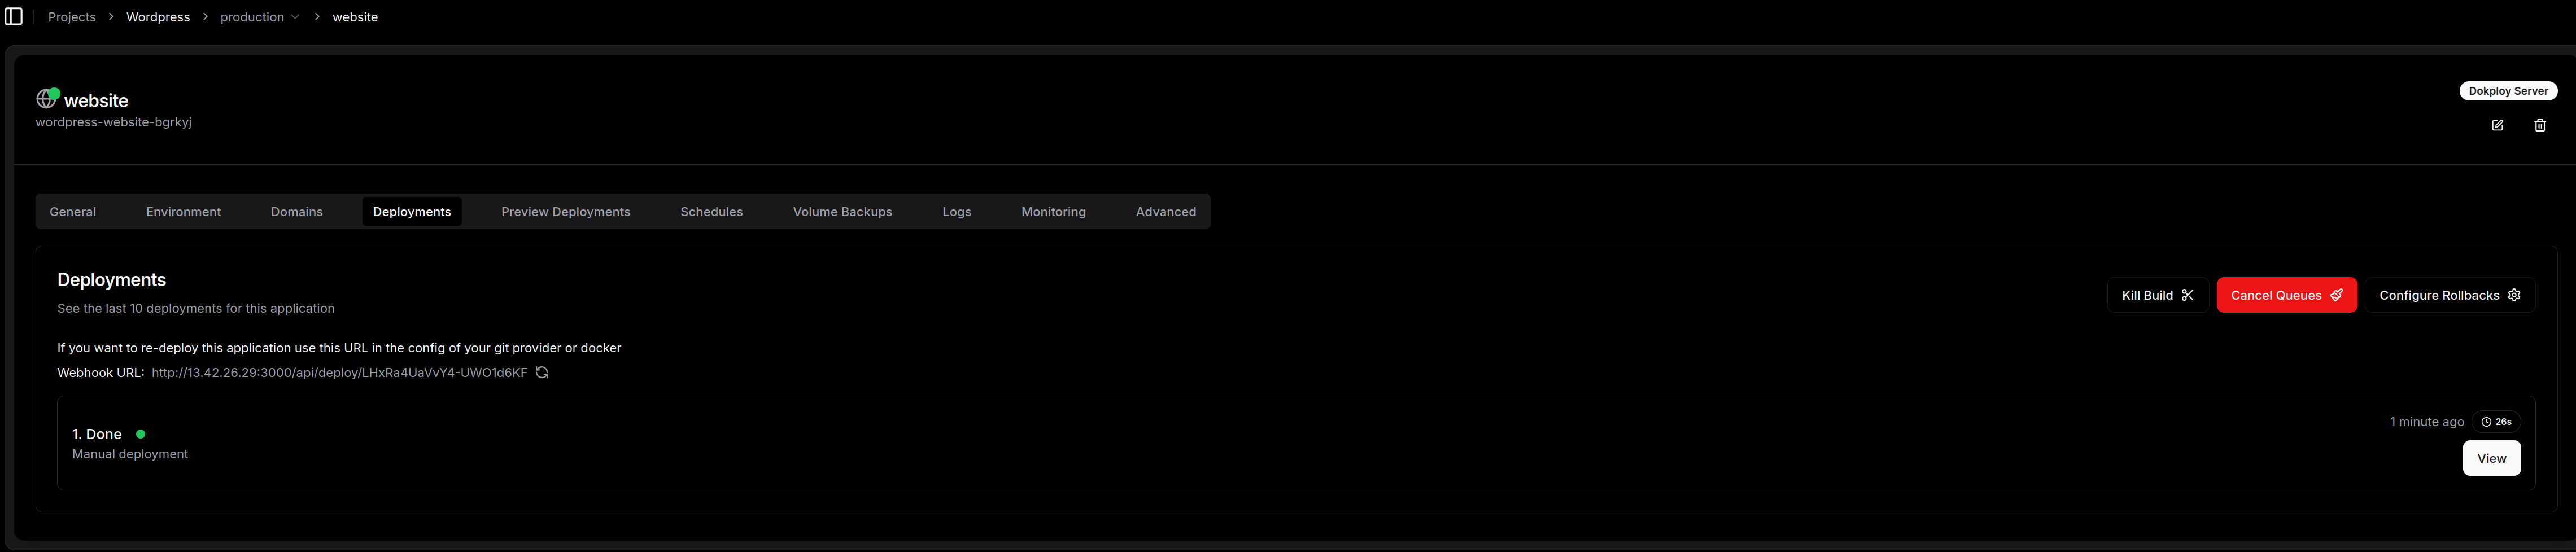
Une fois que c’est validé, on retourne dans l’onglet General, on clique sur Deploy, et on laisse la magie opérer.
Maintenant testons l’accès à l’interface de Wordpres:
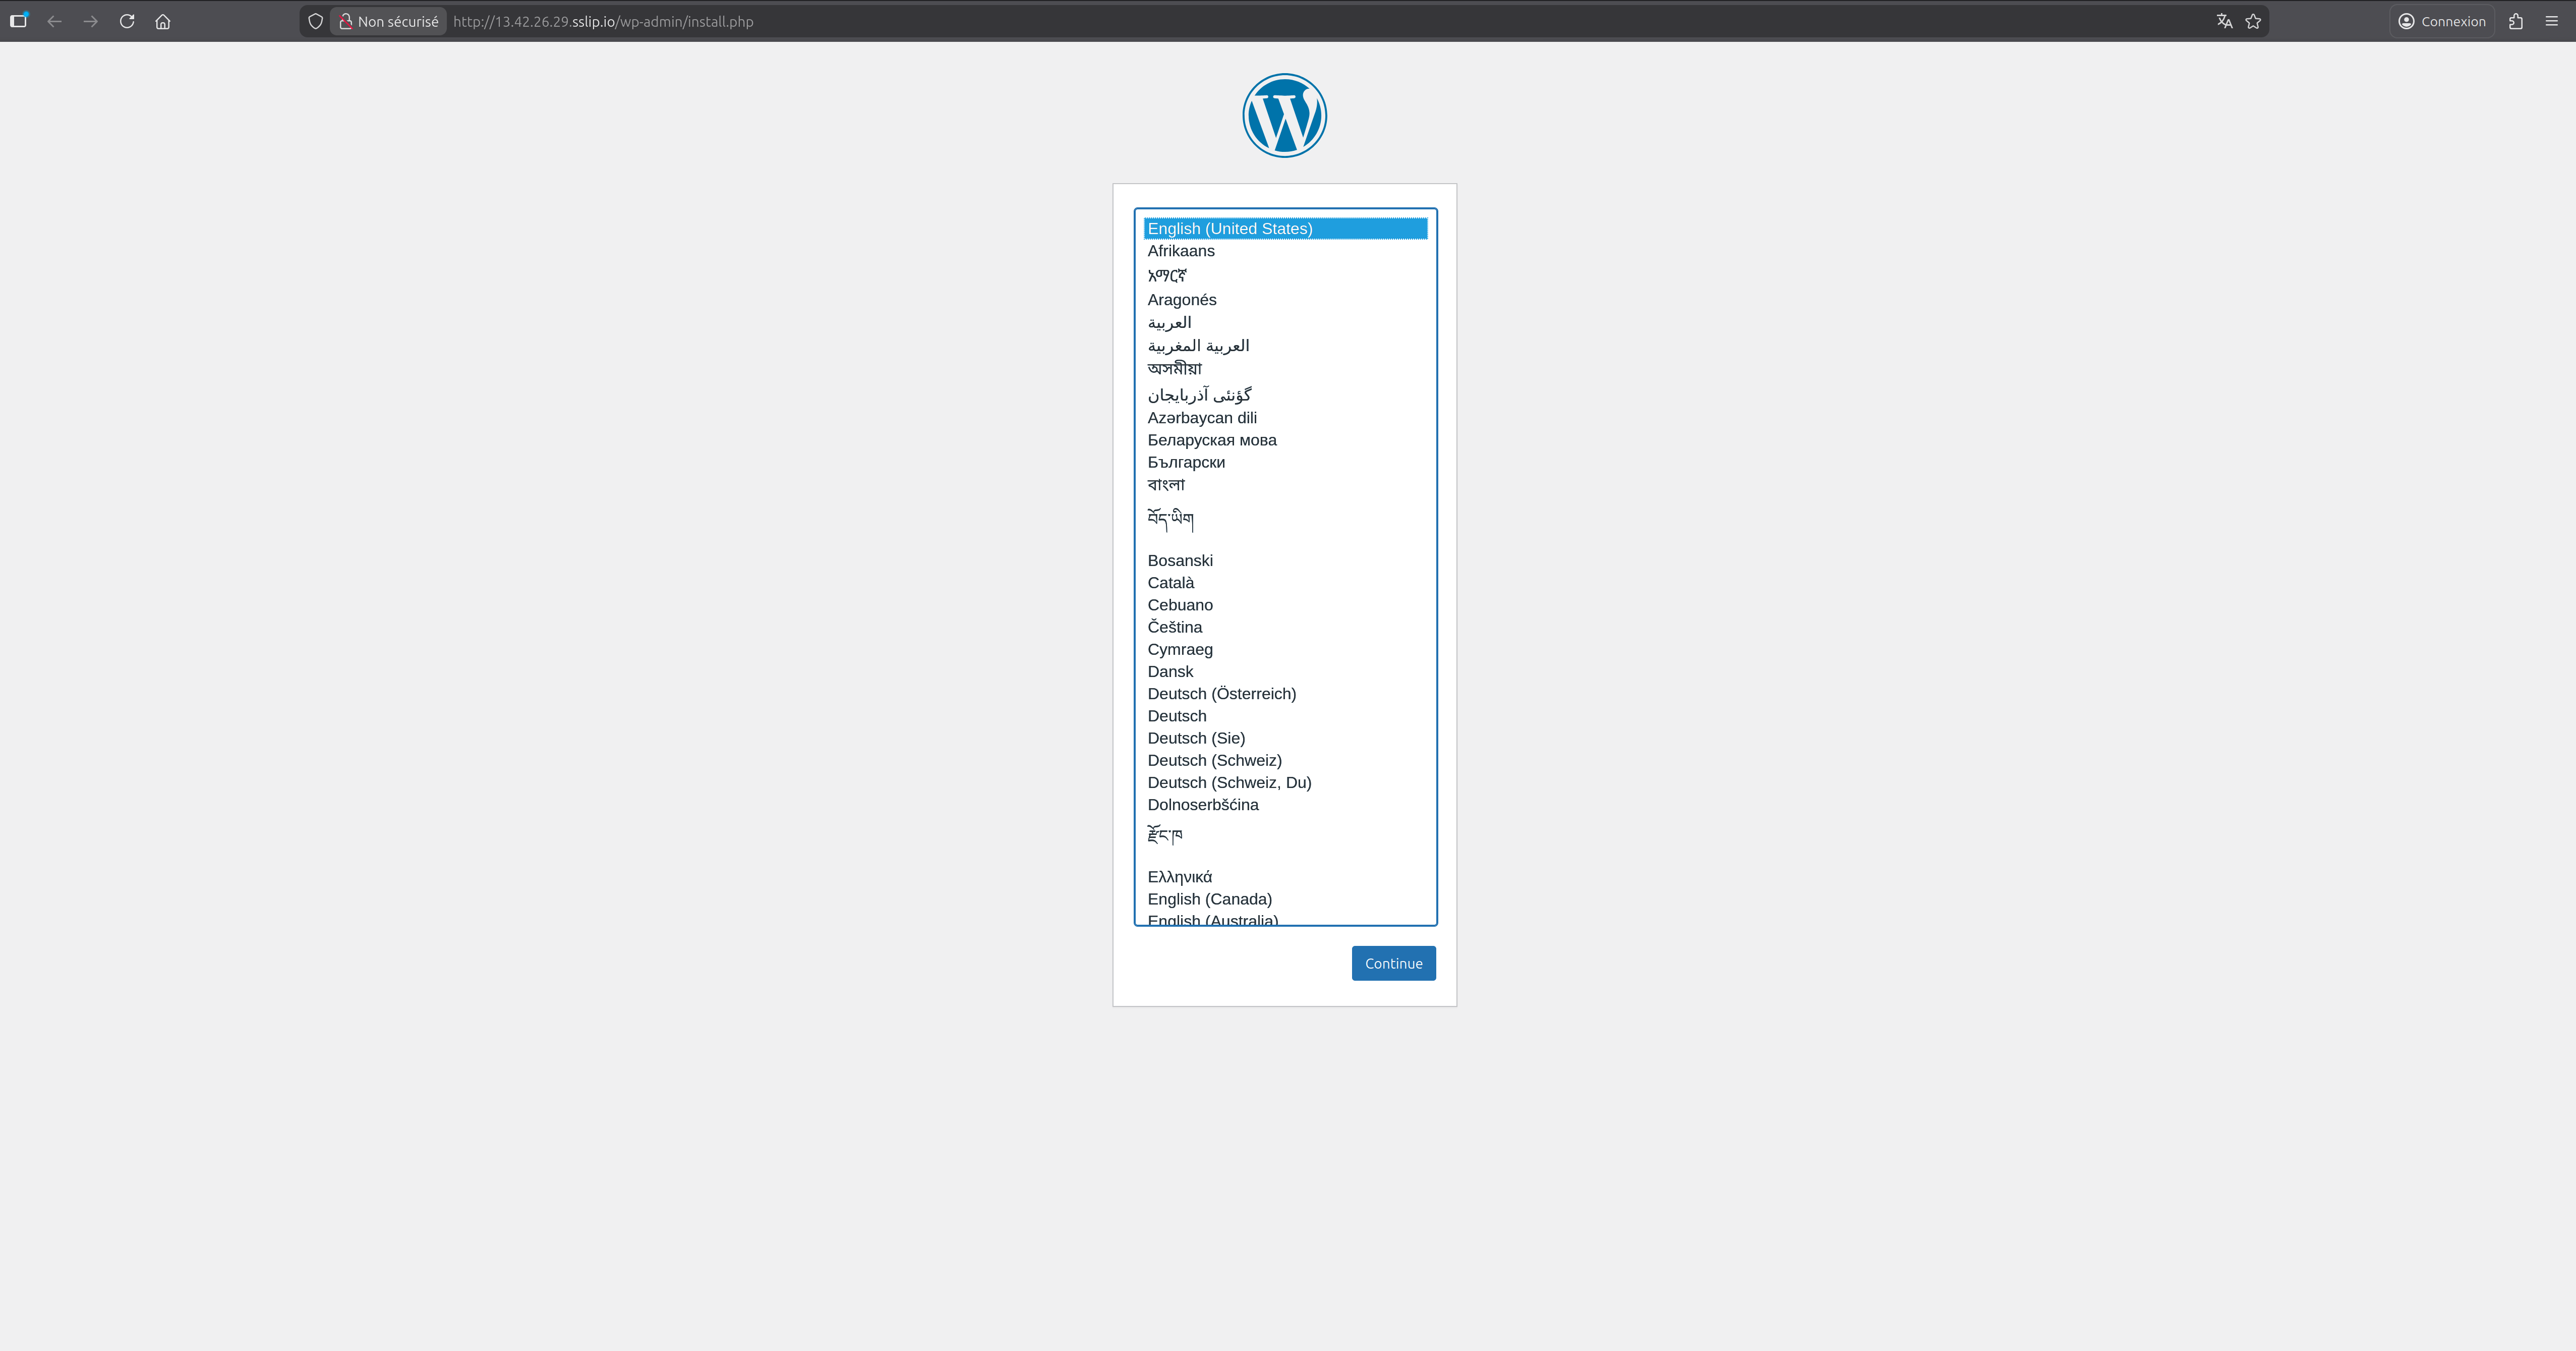
Ca fonctionne!!
4) Le mot de la fin : Dokploy, on valide ou pas ?
Alors, après ce tour d’horizon, quel est le verdict pour un admin habitué à gérer ses propres serveurs ?
Soyons honnêtes : le « tout en ligne de commande », ça a son charme et c’est formateur. Mais à l’heure où l’on doit multiplier les environnements de test, les sites clients ou les outils de monitoring, on ne peut plus se permettre de passer 2 heures à configurer un reverse proxy ou à débugger un certificat SSL récalcitrant.
Dokploy réussit son pari : offrir une expérience PaaS moderne (le fameux « Heroku-like ») sans nous enfermer dans un cloud propriétaire. On garde nos données, on garde notre OS (Debian 12 dans mon cas), et surtout, on garde le contrôle sur ce qui tourne.
Ce qu’il faut retenir :
-
C’est rapide : L’installation « One-liner » et le déploiement via sslip.io permettent de voir son projet en ligne en quelques minutes.
-
C’est propre : On s’appuie sur des standards (Docker Swarm, Traefik, Nixpacks) que l’on peut auditer.
-
C’est souverain : Que votre VM soit chez vous, chez un hébergeur local ou sur un gros cloud public, c’est vous qui avez les clés du camion.
Mon conseil : Si vous avez une petite grappe de VPS qui traîne ou un serveur dédié qui ne demande qu’à être optimisé, testez Dokploy. C’est une excellente alternative à Coolify pour ceux qui cherchent une interface peut-être un peu plus légère et réactive.
Le cloud souverain ne se fera pas sans outils simples pour les admins. Dokploy est clairement un pas dans la bonne direction.
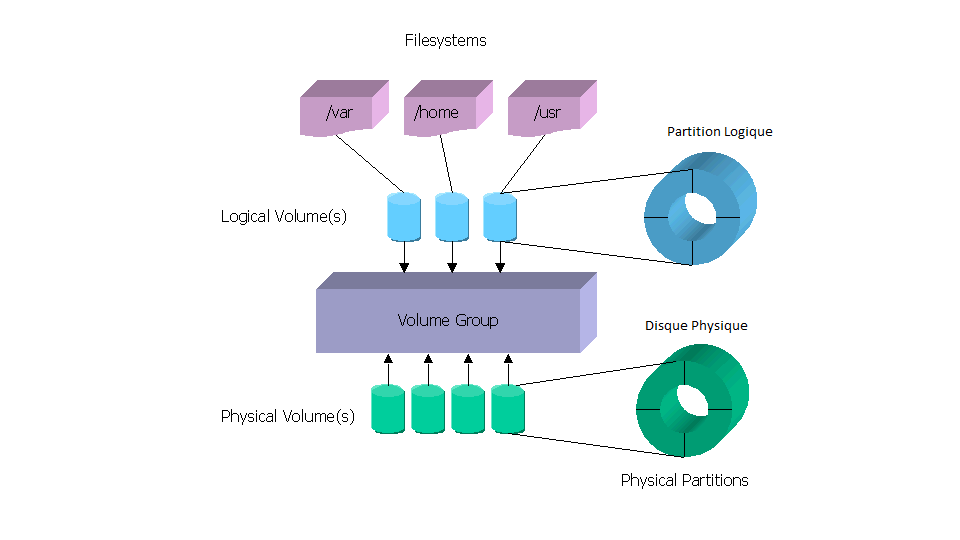
 Bien entendu vous ne pouvez pas redimensionner vos PV (Physical Volume) étant donnée qu’ils représentent vos disque physique 🙂


 Vous devez avoir un sender mail type postfix ou sendmail configuré pour que apticron soit capable d’envoyer des mails.